@movernie
Many of my followers know how much I luv ZIPAIR. I had purchased and flown with ZIPAIR numerous times to Tokyo, Japan and every time it’s satisfactory and this airline gets the job done.
Who are ZIPAIR?
ZIPAIR is a Japanese low-cost carrier offering a budget-friendly, customizable travel experience, flying routes to Asia and North America. This airline’s parent company is a subsidiary of Japan Airlines (JAL), a well-known airline with a proven track record in the world.
As the popularity and demand for ZIPAIR continues to grow, ZIPAIR expanded various new routes flying from Tokyo, Japan to Houston, Texas. This past August, I had decided to test out this new route with ZIPAIR. Since ZIPAIR is a Japanese company, it has Tokyo, Japan as its hub, making most of its routes flying from Tokyo and using it as a major hub to fly to North America such as USA or Canada. It also uses Tokyo as a hub to fly to other parts of Asia.
In the past, I paid out of my pocket travelling with ZIPAIR. But this time, as a disclaimer, ZIPAIR had decided to collab with me and offered me with a complimentary one-way flight to Houston, Texas from Tokyo, Japan. They also surprised me by providing me with a ZIP Full-Flat seat so I can share my flight experience with my followers. I would like to use this opportunity to thank ZIPAIR for this kind surprise and gesture.
FYI – this marked my 1st time flying Full-Flat with ZIPAIR.
MoVernie FUN FACT: ZIPAIR likes to keep things simple. Every flight, they offer 2 flight options. Economy seat or ZIP Full-Flat.
Economy seat is your typical economy seat with limited recline, a lean and narrow seat. ZIP Full-Flat offers a wider seat with more lumbar support, offering various sitting position and angles with a power control panel. Moreover, the seat can fall flat acting like a bed that stretches and providing you with more leg room and sleeping space and privacy.
My Full-Flat Experience With ZIPAIR:
Without further adieu, let me share with you my ZIP Full-Flat experience with ZIPAIR.
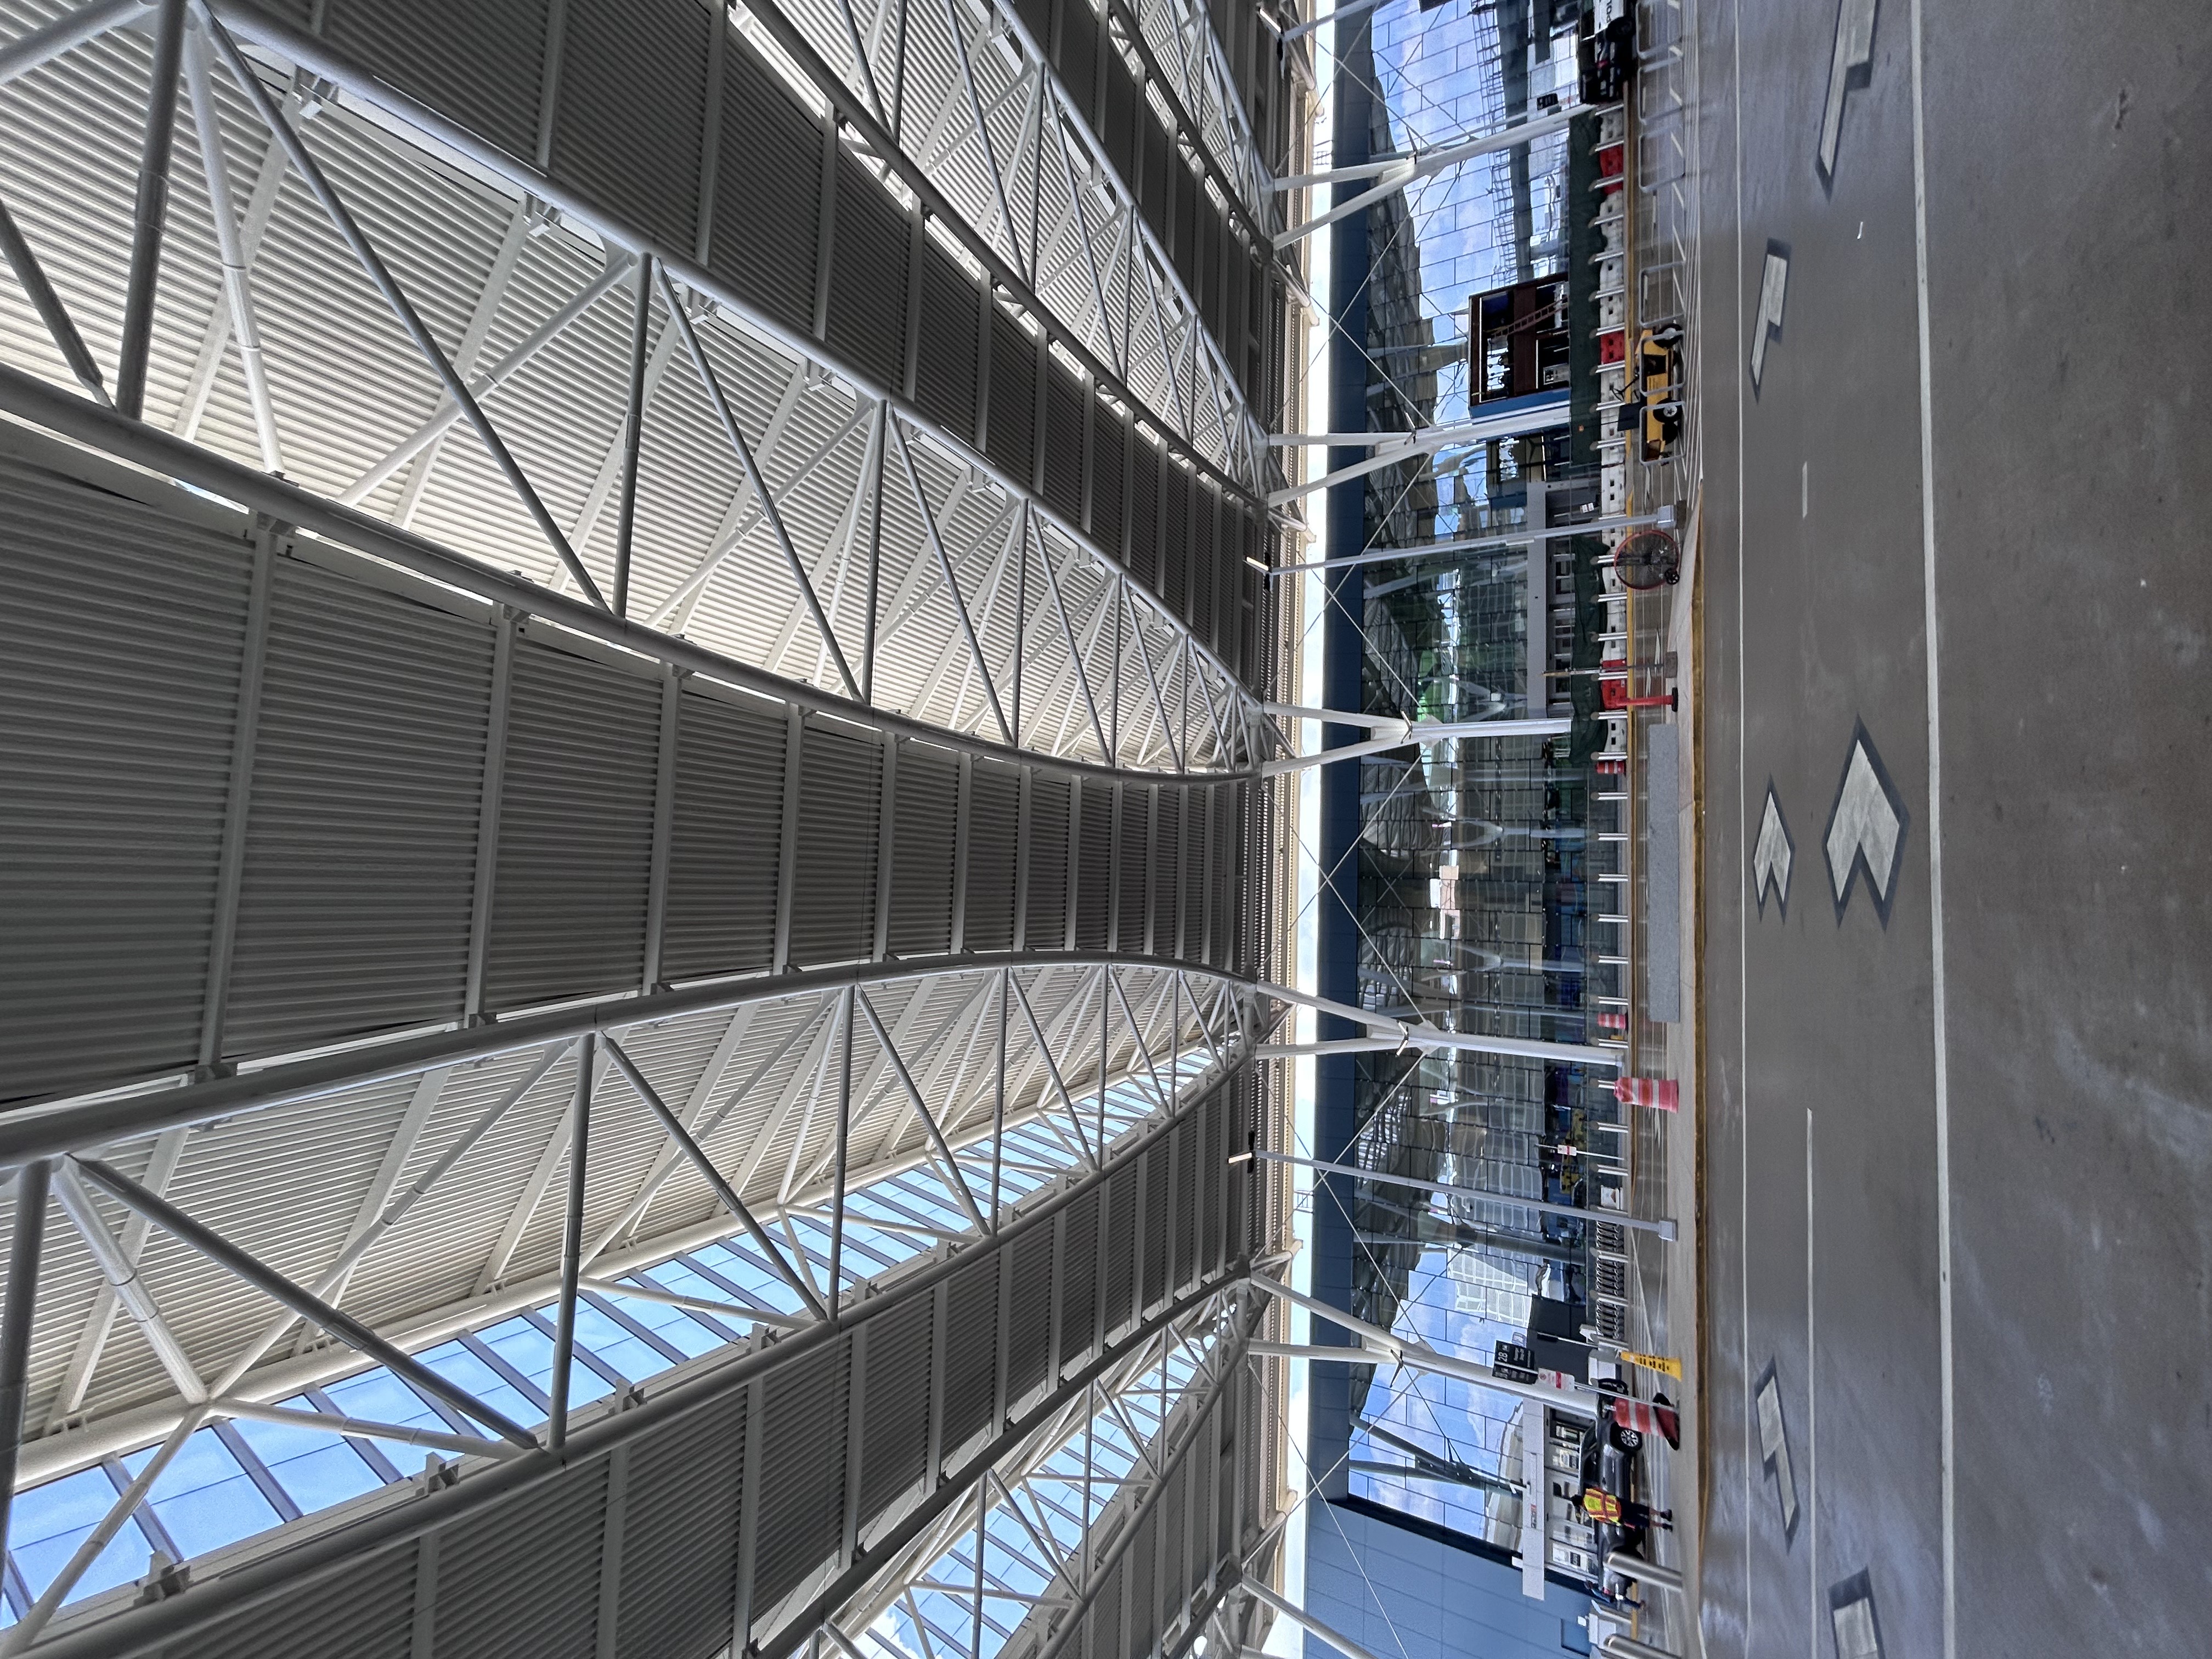
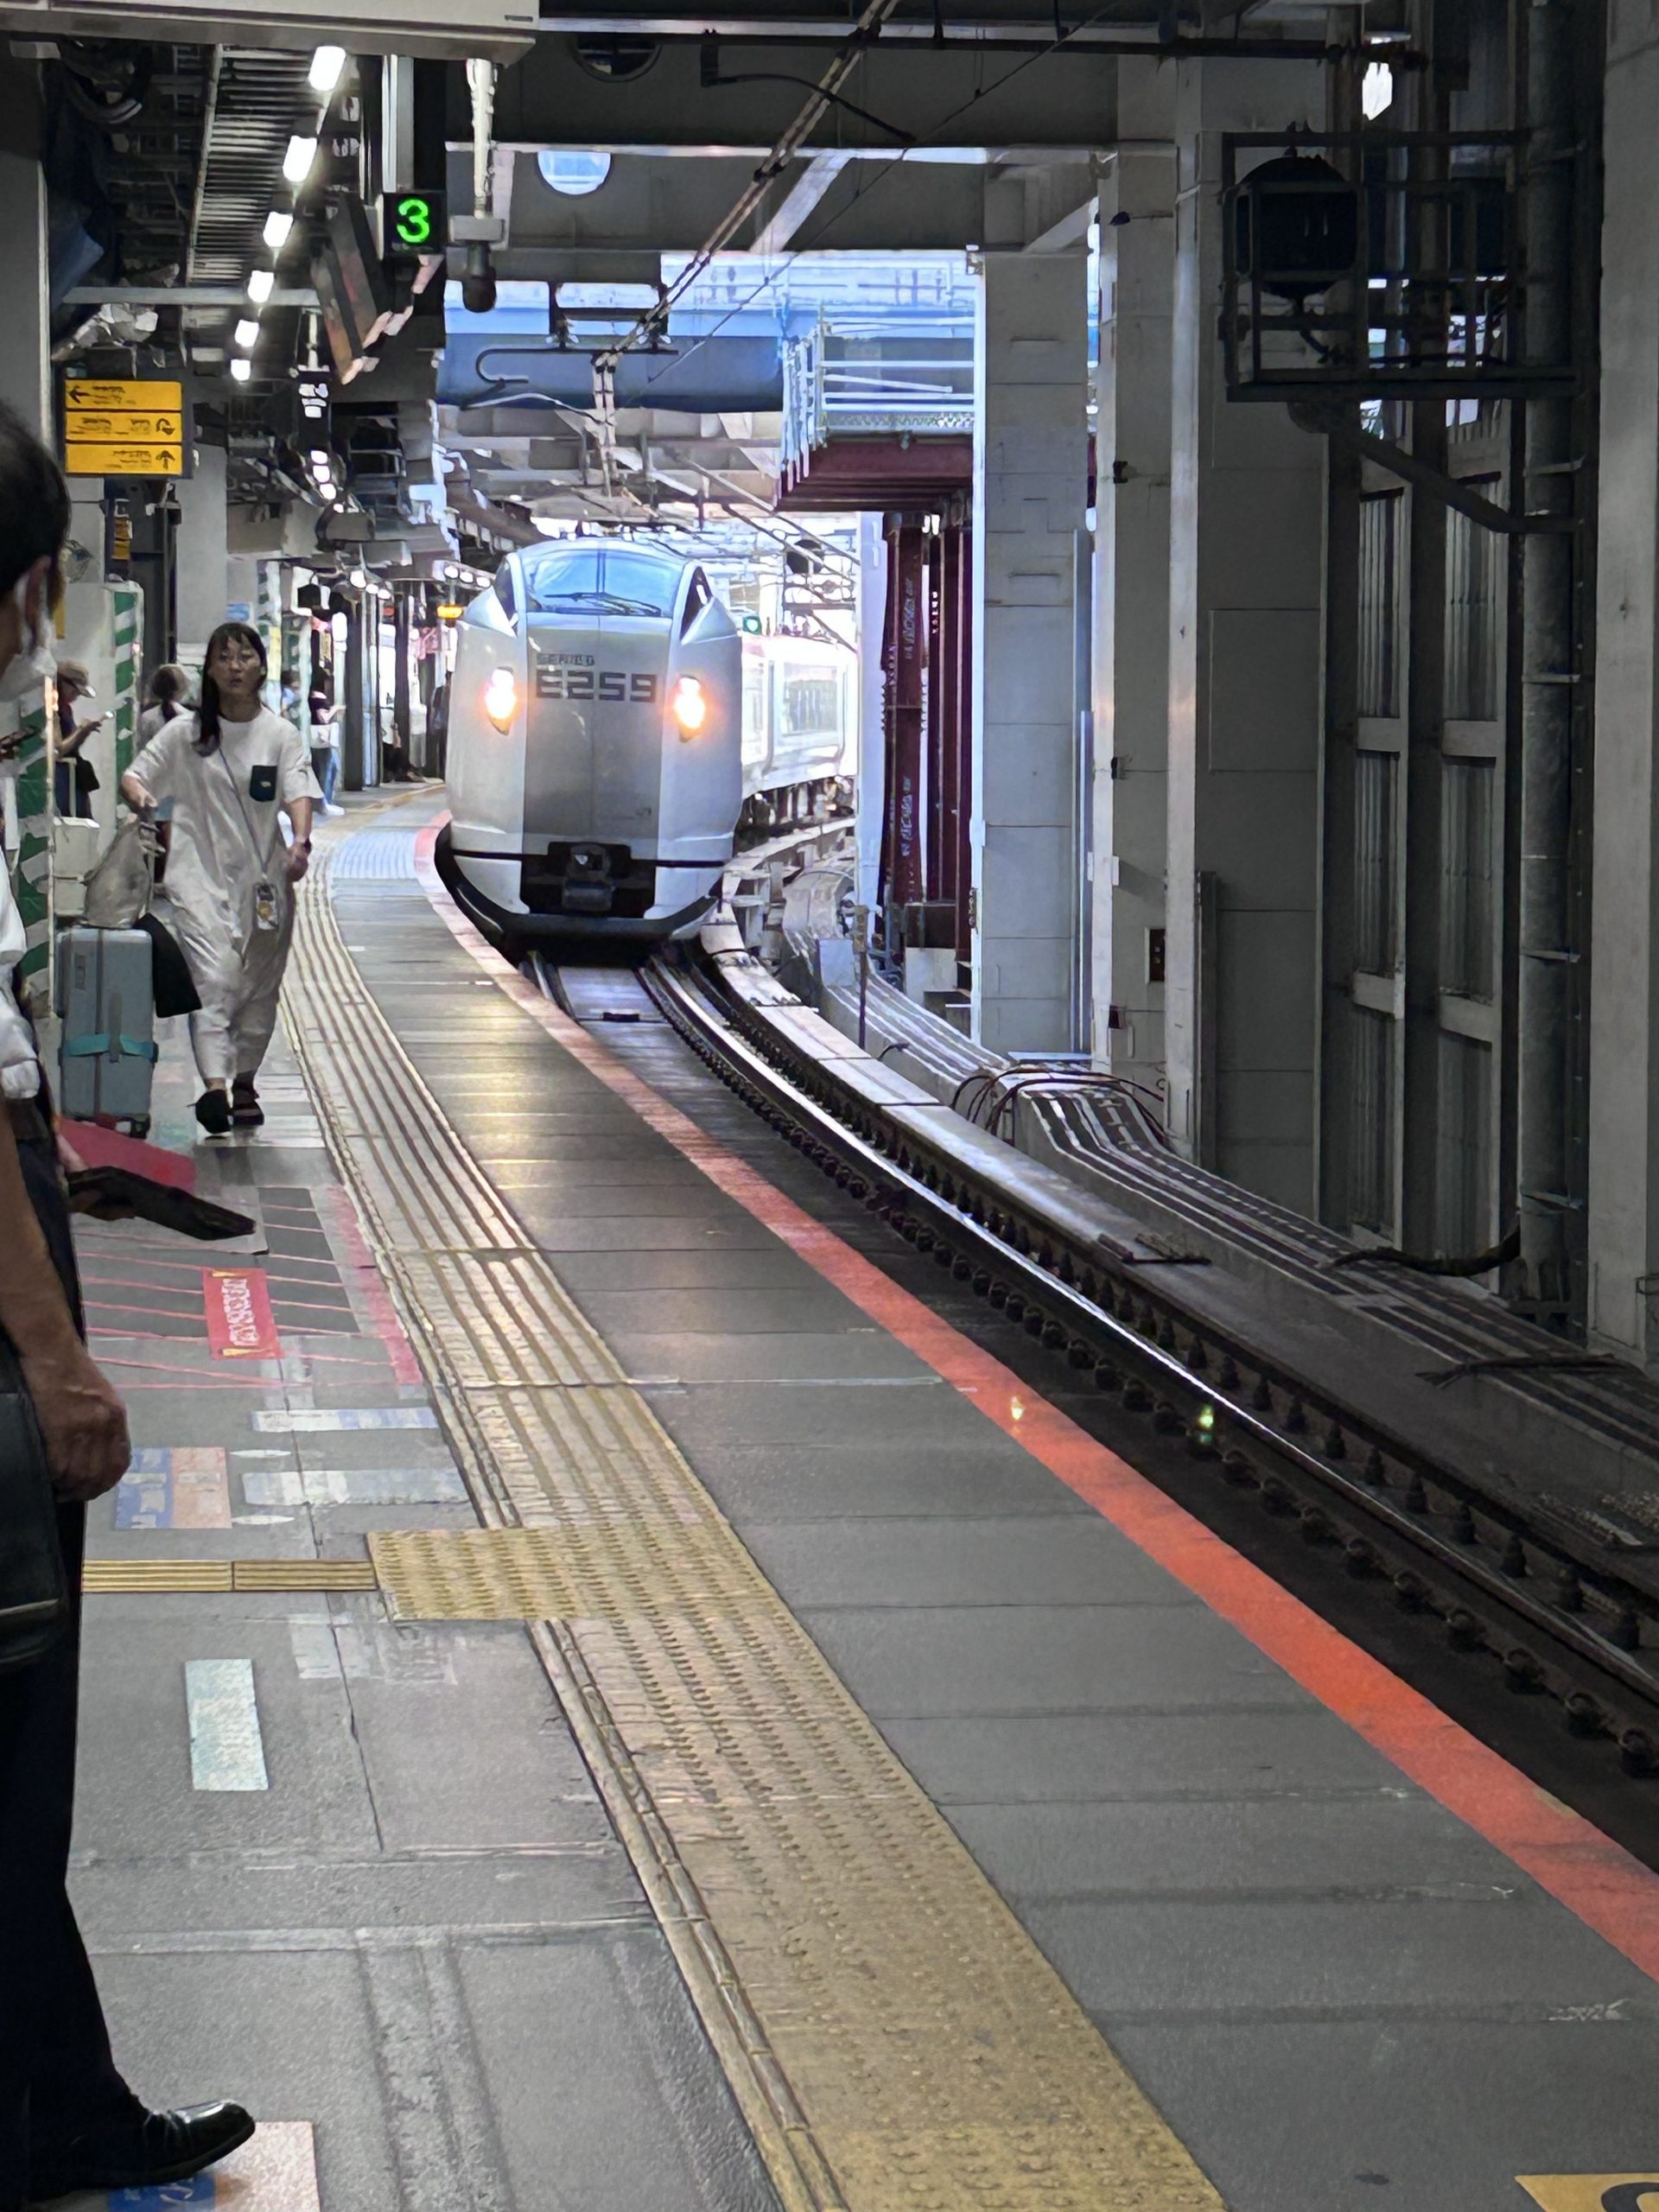
I took the special limited express train from Shibuya Station to Narita Airport. Please note that there are 2 different stations when arriving at the Narita Airport. There is a Terminal 1 station and Terminal 2-3 station. Make sure to get off at Terminal 1 as ZIPAIR is located at Terminal 1. Of course, if you ended up at Terminal 2-3 station by mistake, no worries, you just need to get off and wait for the train to go back to Terminal 1.
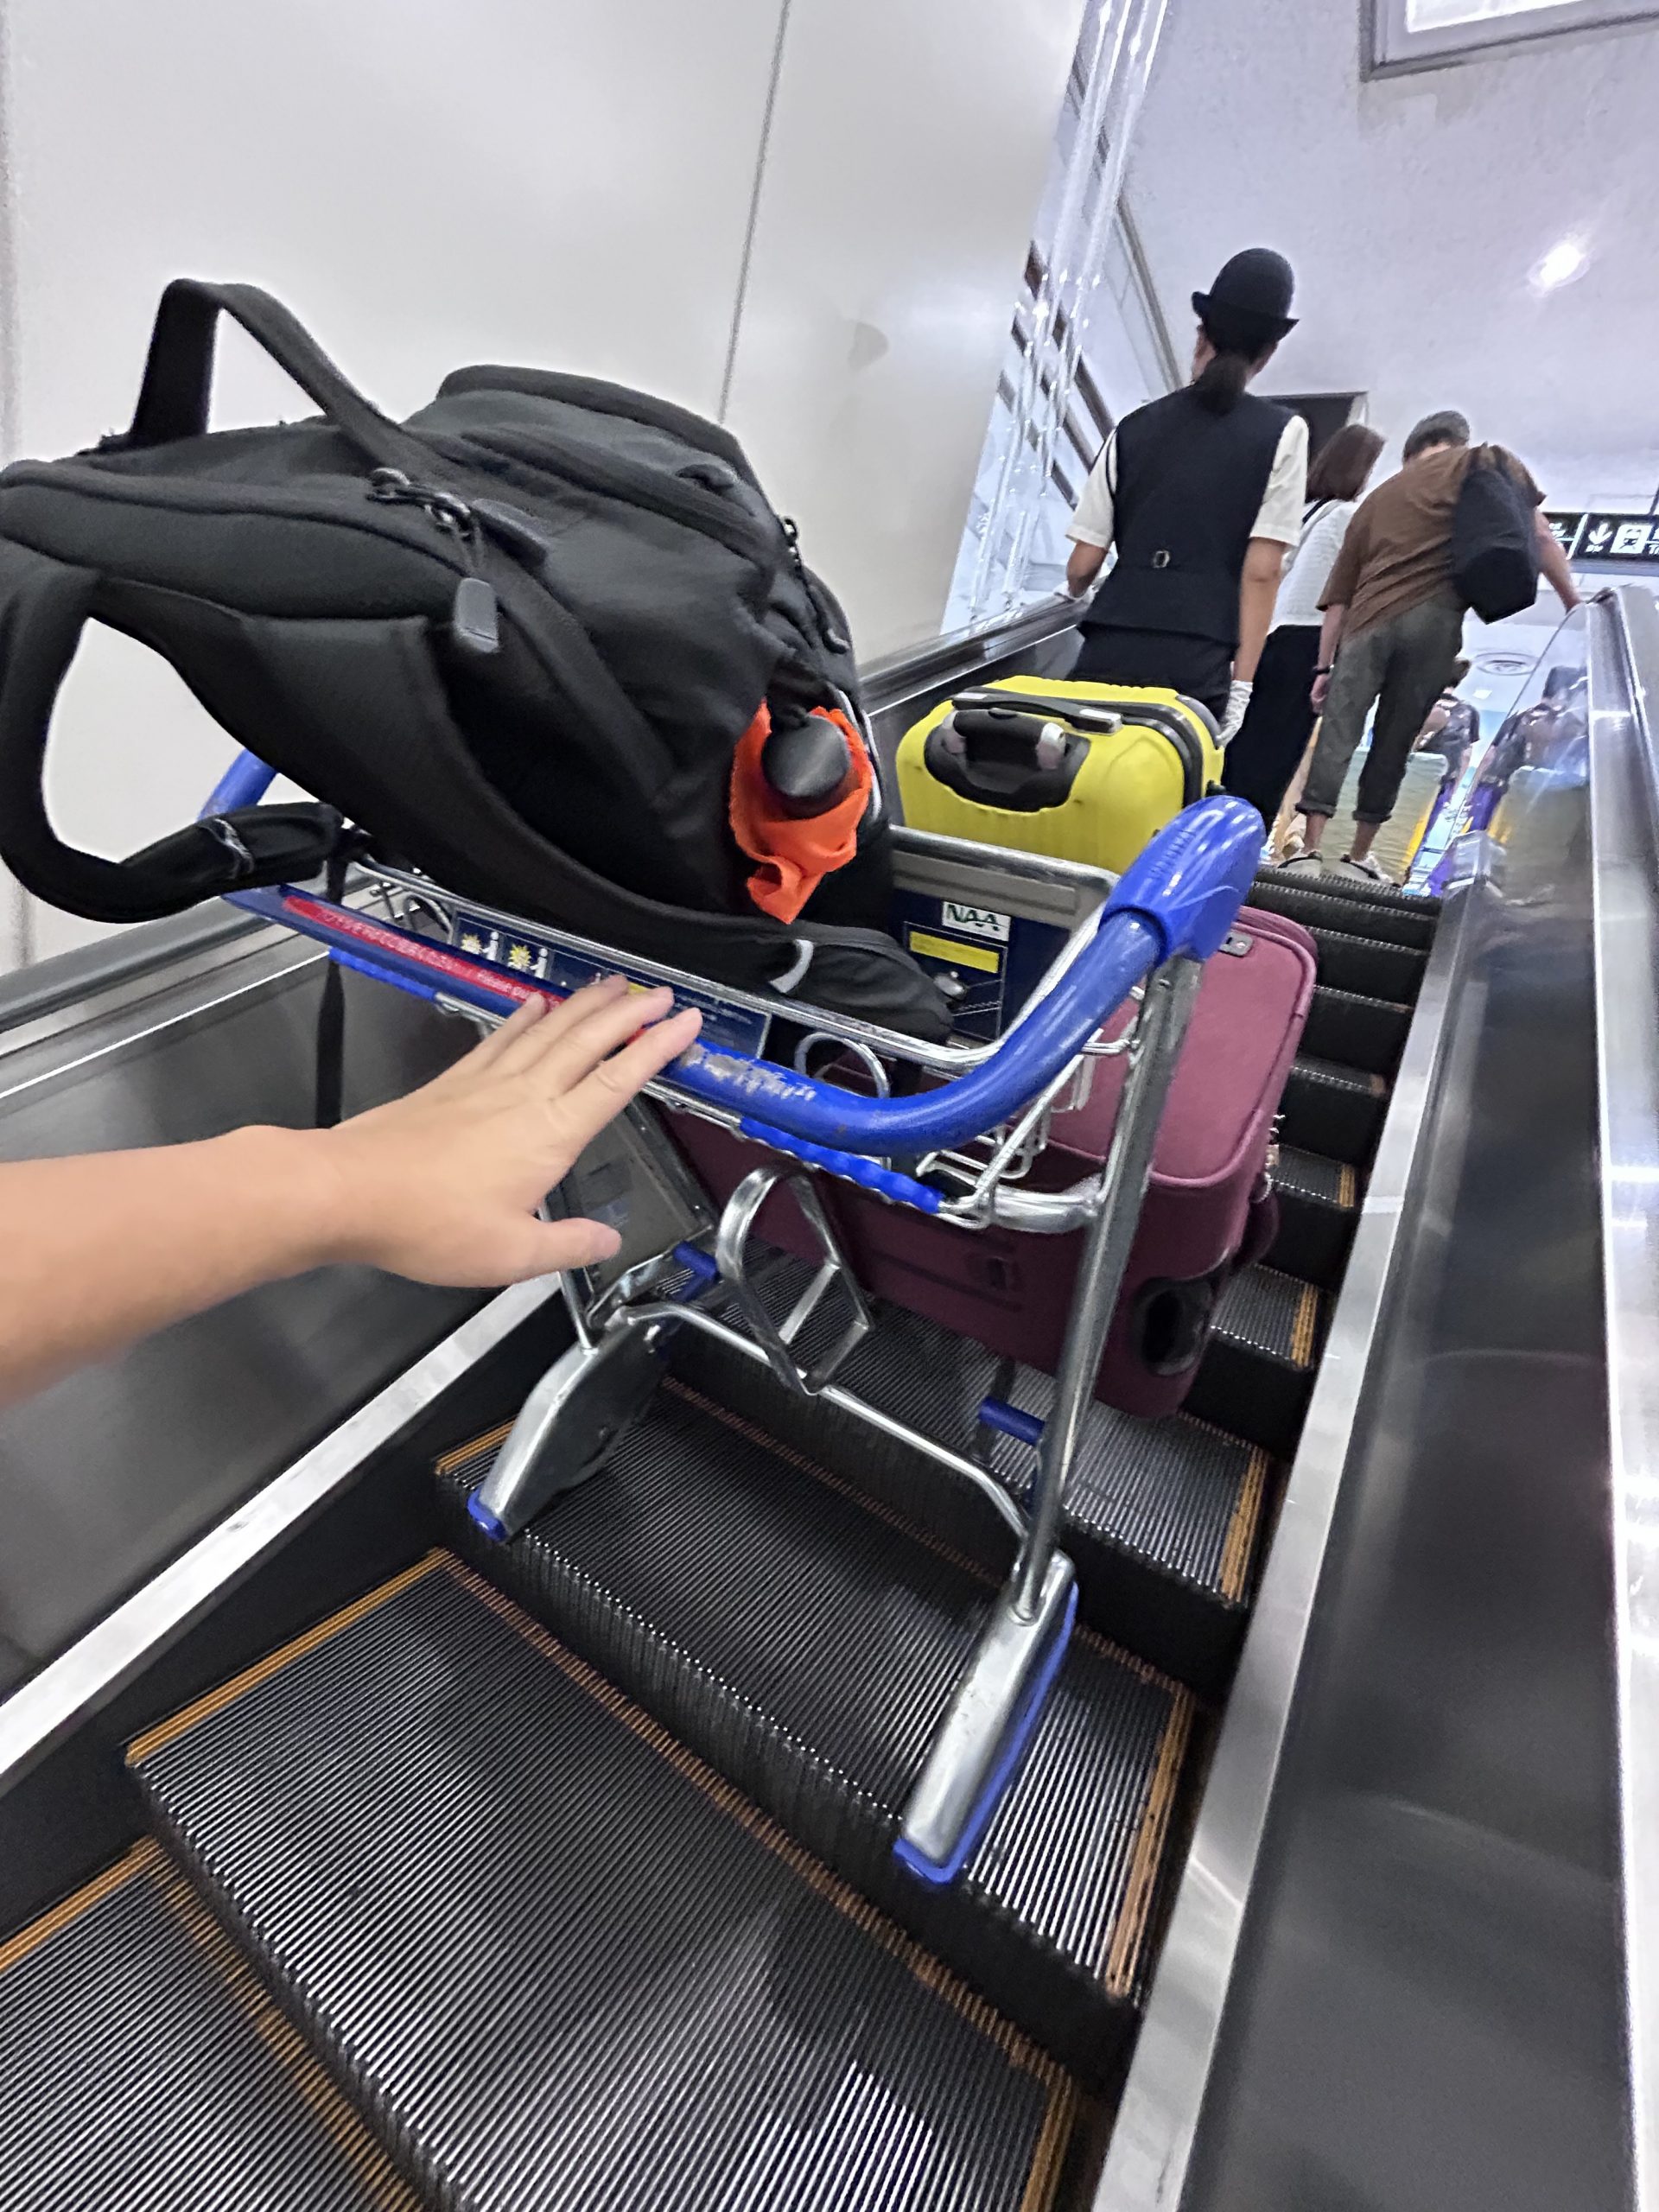
 Once you are at Terminal 1 train station, look for the trolley station and grab a trolley as it’s FREE. Put in your big luggage, carry-on or backpack. It will make your life easier by pushing the trolley.
You know how thoughtful the designers and engineering team at the Narita Airport? The escalator not only allow humans to stand, it also can hold your trolley. It’s a bit nerve wrecking at first fearing the trolley will slide down the escalator. But no worries, the escalator is designed to allow the trolley to be tilted but will secure it from sliding down.
From the photo below, you can see how the escalator is able to hold on to the trolley securely.
 Since ZIPAIR counter is on the 4th floor, you will have to take a few escalators up to get there, but it’s not so bad.
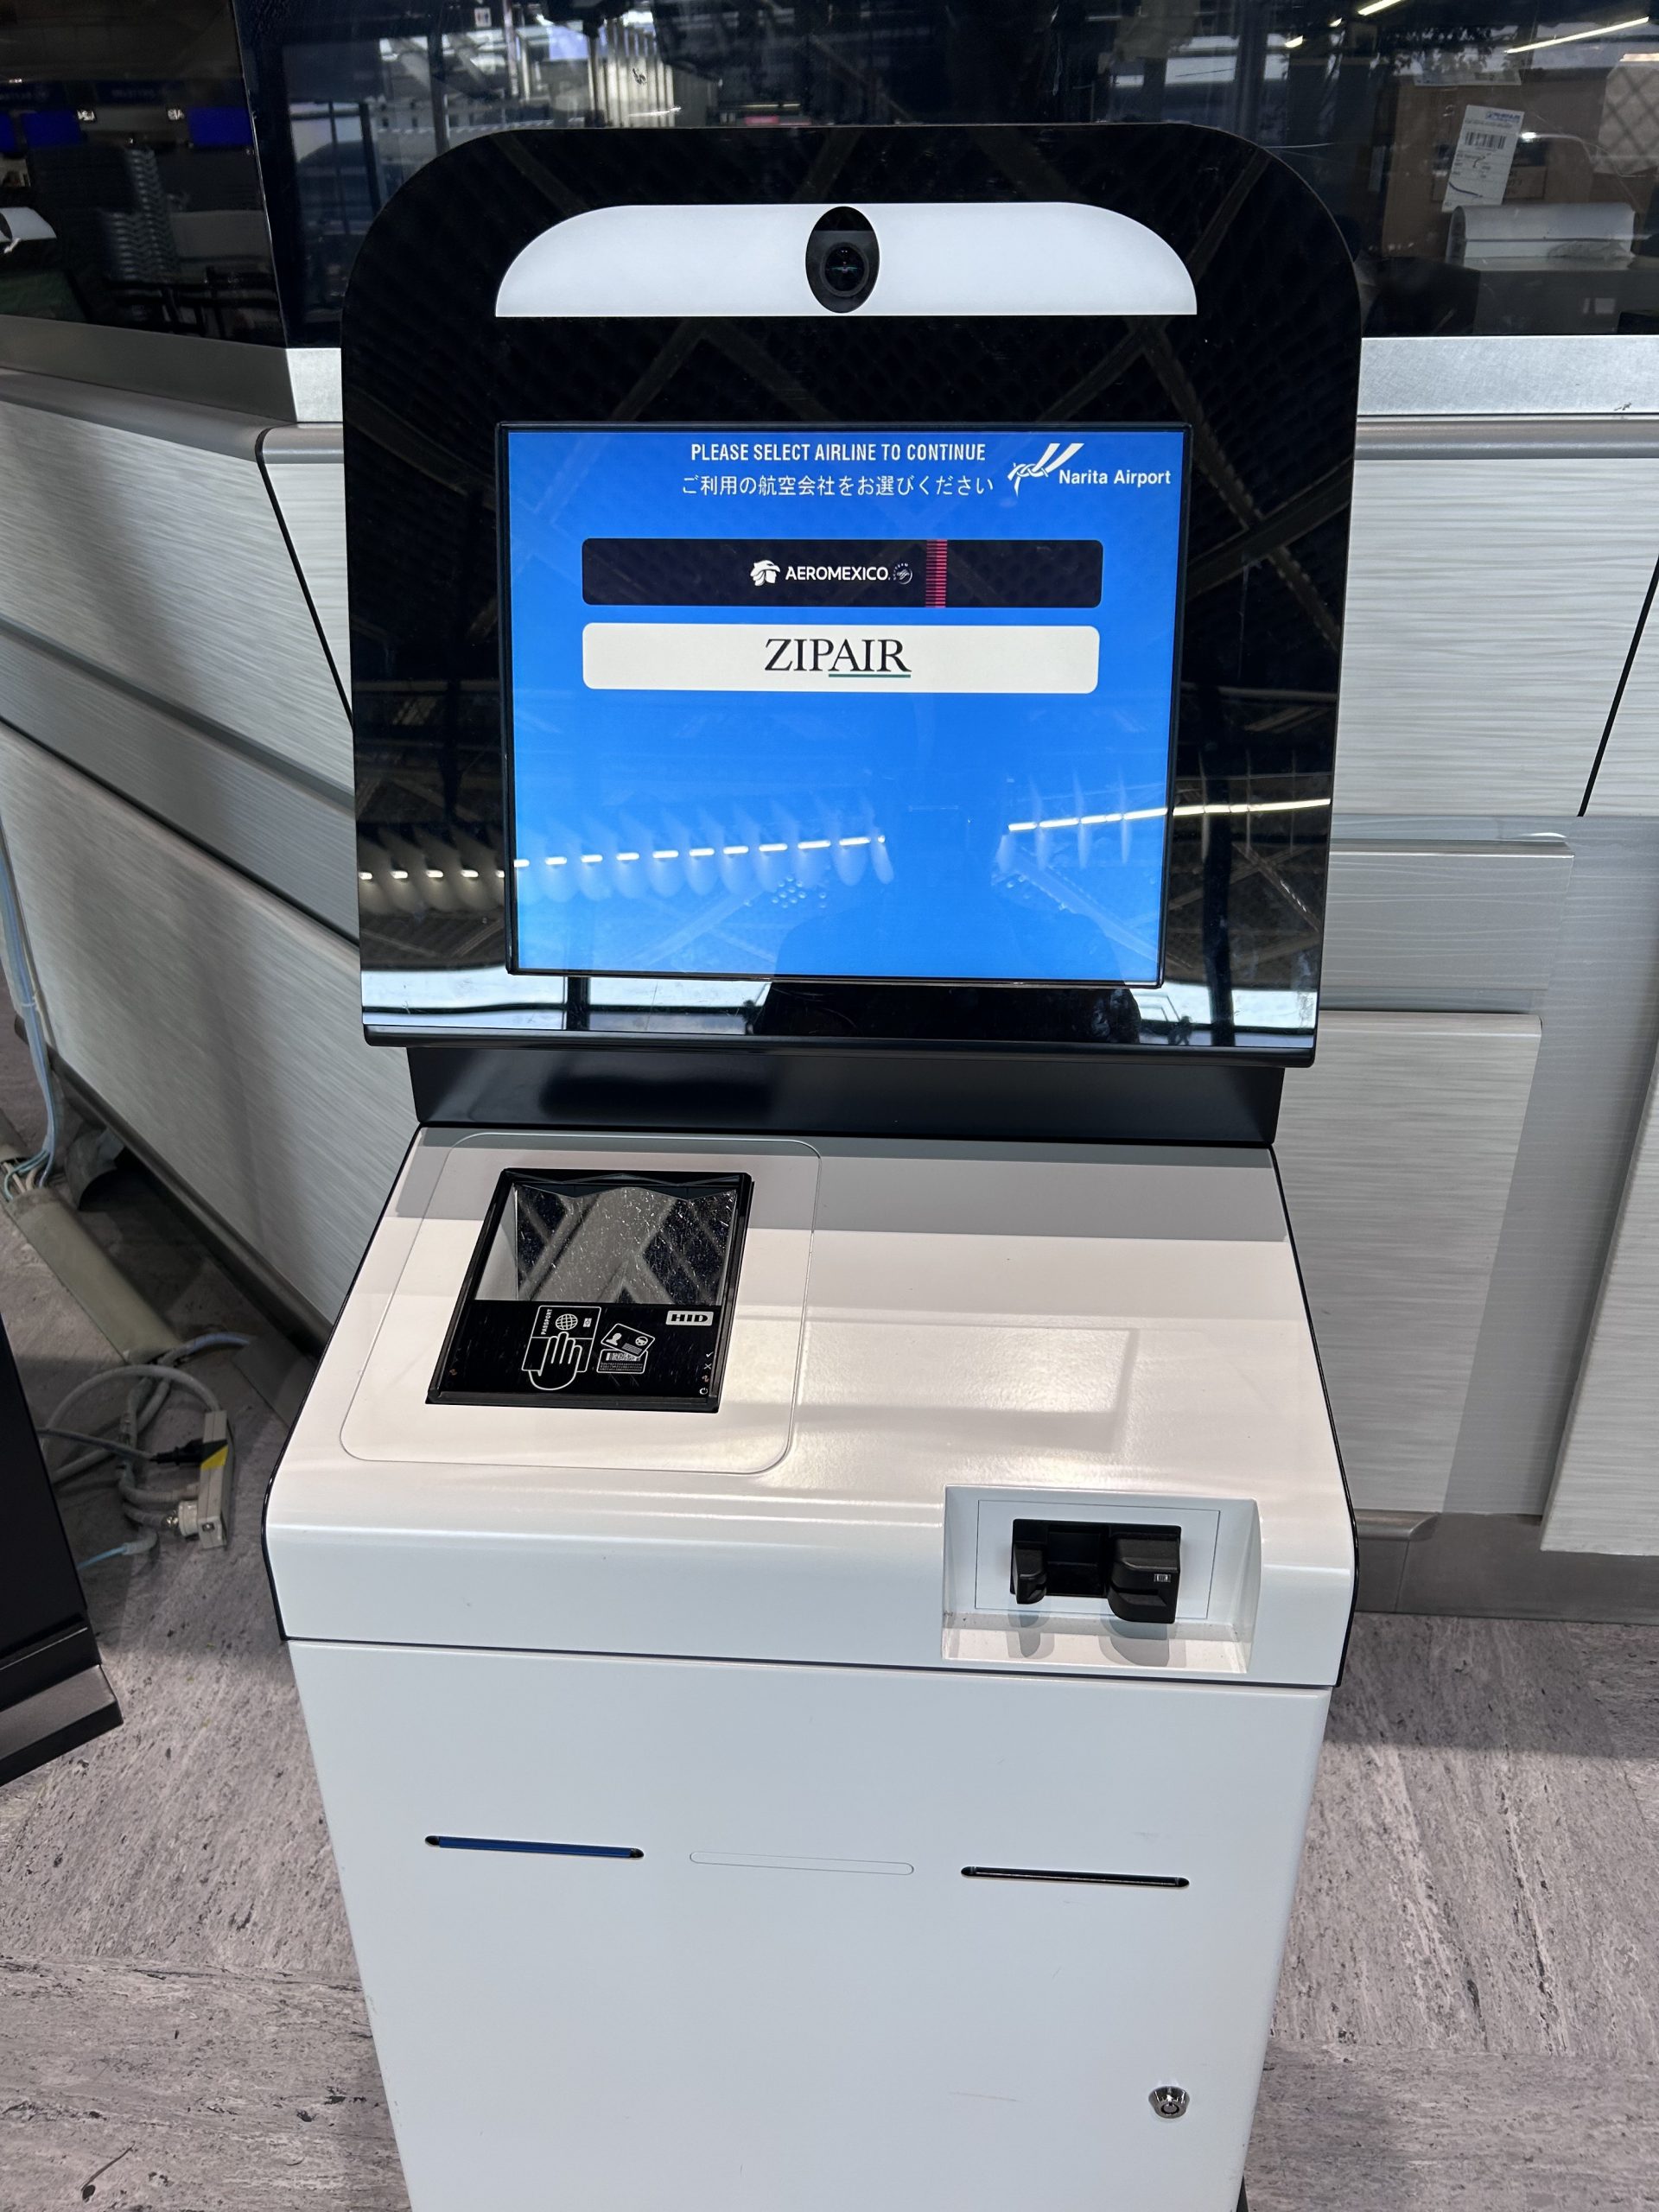
Once you reached the 4th floor, look for kiosks located around the airport. There are plenty of them. These kiosks aren’t just dedicated for ZIPAIR customers, some of these machines also allow other customers to check-in their respective airlines.
Look for an available kiosk that has the ZIPAIR logo and then do your usual check-in process. Alternatively, if you want to check-in with a ZIPAIR staff, you can also lineup to do that. But personally, I try to avoid lining up when I can check-in via a machine. It’s much quicker and easier.
At the machine, I provided my passport for the machine to scan and I just need to verify if the destination is correct and if my travel INFO is correct on the kiosk. Double check if everything is accurate and then the machine will print out your boarding pass.
 Next up, look for the ZIPAIR counter on the same floor. If you couldn’t find it, look for ZIPAIR staff (most wearing ZIPAIR logo uniform). There usually is a short line, wait for your turn. The staff will look at your passport and your boarding pass to ensure you are lining up at the right line.
Then, there is a weigh scale beside the staff. Since ZIPAIR is a low cost carrier, they have weight restrictions on your carry-on and personal item. Make sure you read the weight allowance from the ZIPAIR official website ahead of time to avoid any delays where you have to open your luggage, move things around and throw things around to meet the weight allowance.
NOTE: The basic economy class has a very specific weight restriction allowance. However, at extra cost, you can pay for an upgrade (additional charge) that allows you with more weight allowance. ZIPAIR offers many different types of packages, including one that allows 15kg of a carry-on and a personal item (combined 15kg).
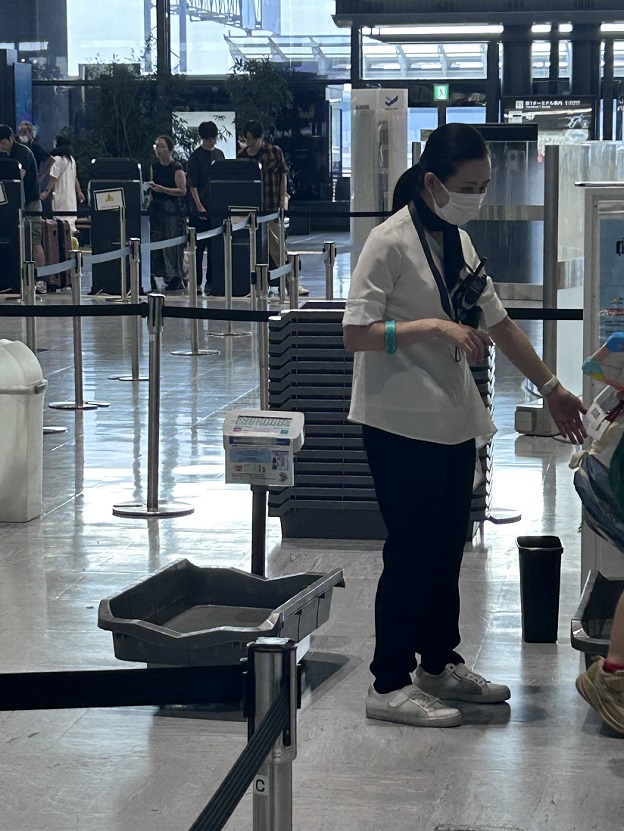
If your combined carry-on and personal item exceeds the basic weight restriction, the staff will kindly ask you to step aside and ask you to reduce the weight. You either throw out some garbage or unwanted items or wear it on your body or you allocate some items into your checked luggage instead. Anyhow, there isn’t much wiggle room. Trust me, I tried to ask the staff to give me mercy, they won’t budge, so it’s best you pack lighter or check your luggage weight at the hotel to ensure you meet the weight beforehand to avoid delay at the airport.
Once your carry-on and personal item meets the weight restriction, the friendly staff will wrap around a ZIPAIR sticker on your respective items so their staff at different check-points will know that these bags have been weighted and inspected and are allowed to get onboard for your flight.
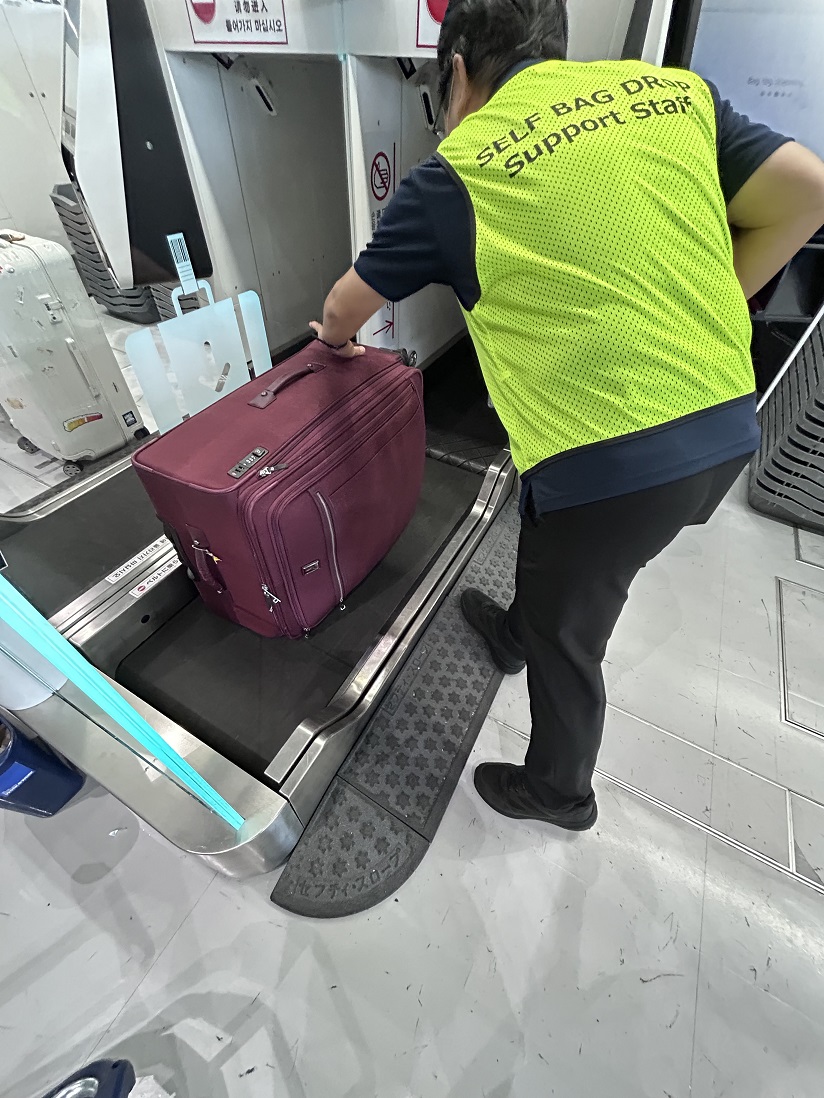
 Now….what about your checked luggage? Well…next step is for you to walk towards one of the baggage drop-off machines. you place your checked luggage on the machine so it could weigh your luggage. Again, it should not exceed 66lb of weight. If it exceeds the weight, the machine won’t move your item until it is below the weight allowance threshold. The machine will then scan your boarding pass so they know where this checked luggage is flying to.
Once the checked luggage is scanned and within the weight restriction, the conveyor belt begins to move and will guide the checked luggage to your plane.
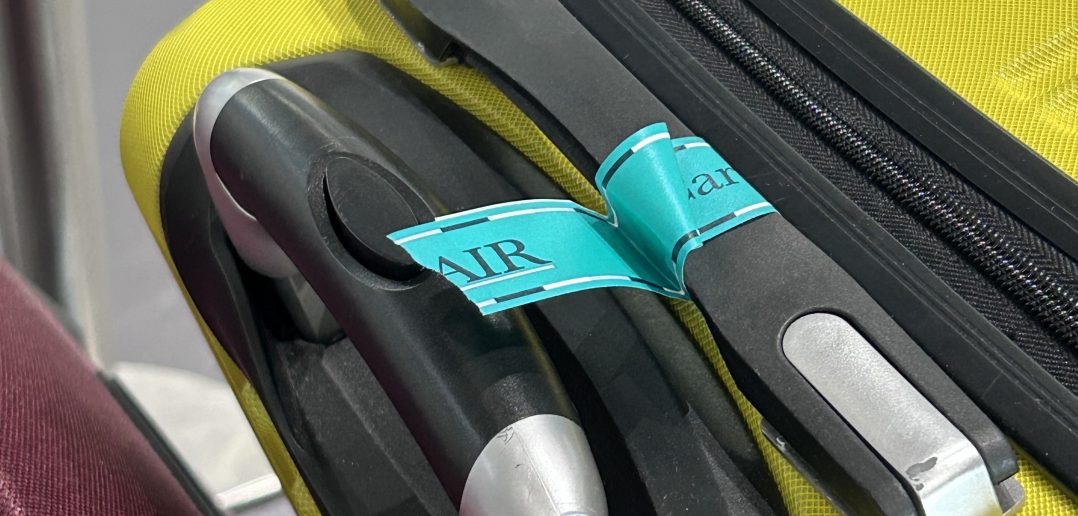
 MoVernie TIP: Make sure you keep one of the mini stickers that has your checked luggage INFO. Just in case your luggage is lost (which I haven’t experience so far with ZIPAIR), you have the luggage INFO for reference.
Now, you can chill and walk towards the security check-point and you just need to get into the gate and wait to be boarded.
MoVernie TIP: Whenever I travel to Japan, I prefer to arrive at the airport early coz Japanese airports offer so many food and beverage options. Amazing duty free options and shopping options at the Japanese airports motivate me to arrive early to chill and enjoy my airport experience in Japan. Asia airports hit different with so much more offerings.
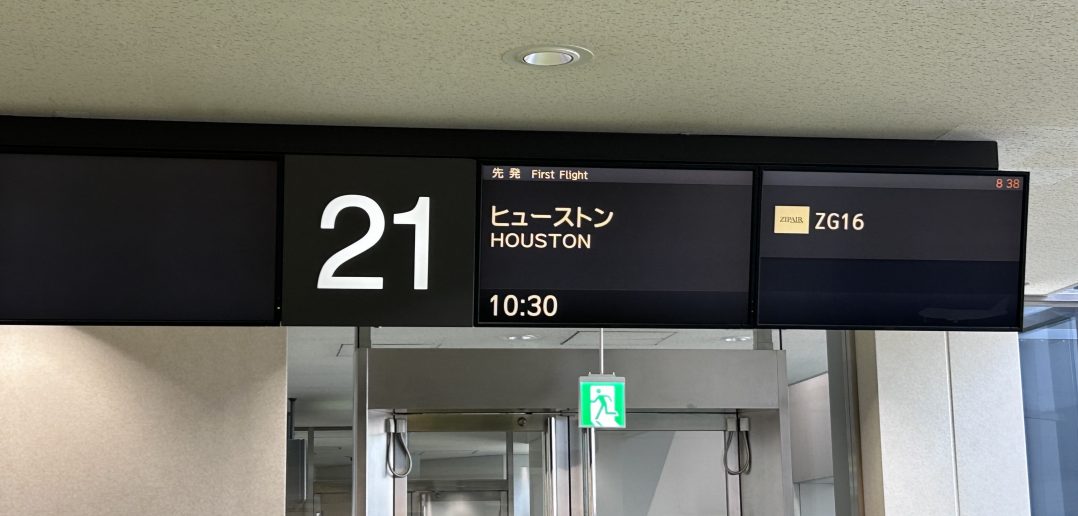
My ZIPAIR flight from Tokyo to Houston was 10:30 AM Japanese boarding time and the flight # was ZG16.
 I could see the ZIPAIR plane parked on the tarmac as the ground crew was loading up our luggage, replenishing food and beverages for purchase and also refuel the plane. I could see JAL supplies were being loaded onto the ZIPAIR plane as I mentioned prior, ZIPAIR is affiliated with JAL Airlines.
 Now Boarding – ZIPAIR
One thing that I am also impressed with ZIPAIR is how orderly their processes were when boarding its passengers. There was no chaos.
The ground crew had signs indicating who was able to board first and next, etc.
As my memory serves me well, people who were elderly or wheelchair accessible or passengers with young children were boarded first.
Since there were no Business Class or Premium Economy seating on ZIPAIR, there aren’t any priority boarding.
But since I was given a ZIP Full-Flat, I was one of the next group of people who could board early. My seat was 1A.
What’s interesting though, once the ZIP Full-Flat group were boarded. The next group of passengers who were sitting at the back of the plane were boarded next. Thus, anyone with Row 40+ got to board before those who had seats in the earlier economy rows. I think it makes sense as they want to board those who were situated at the back first and not blocking traffic.
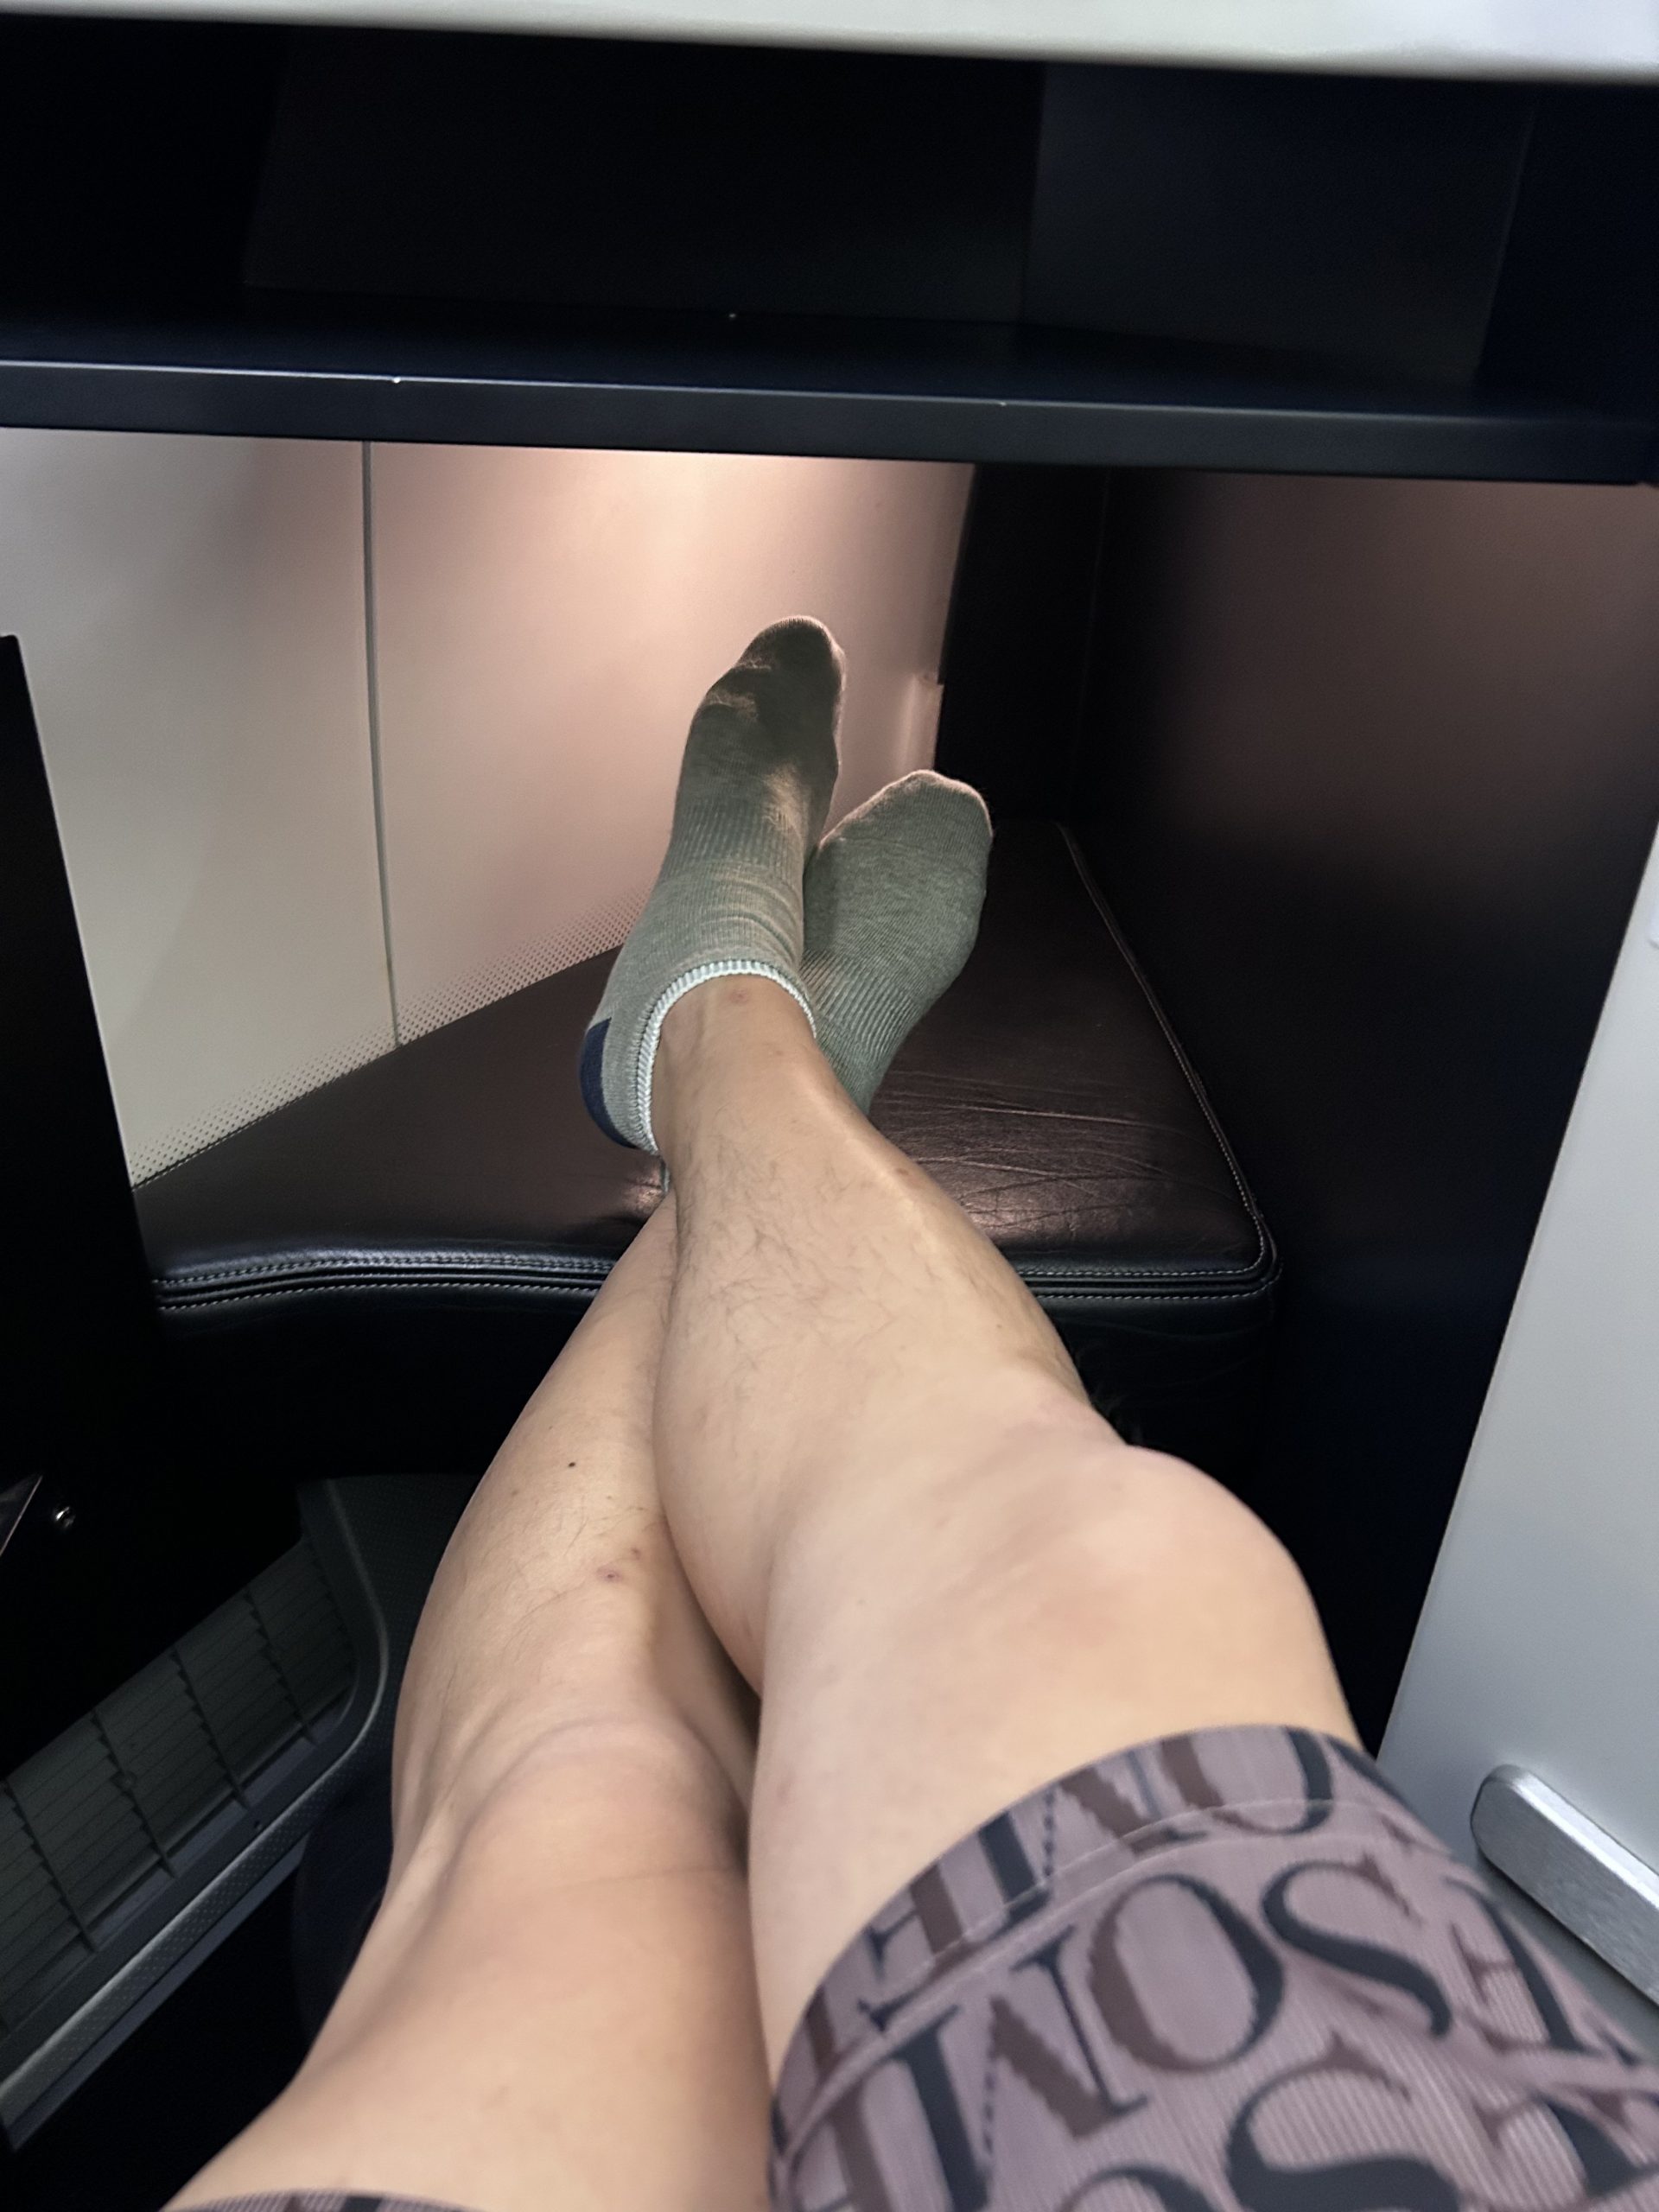
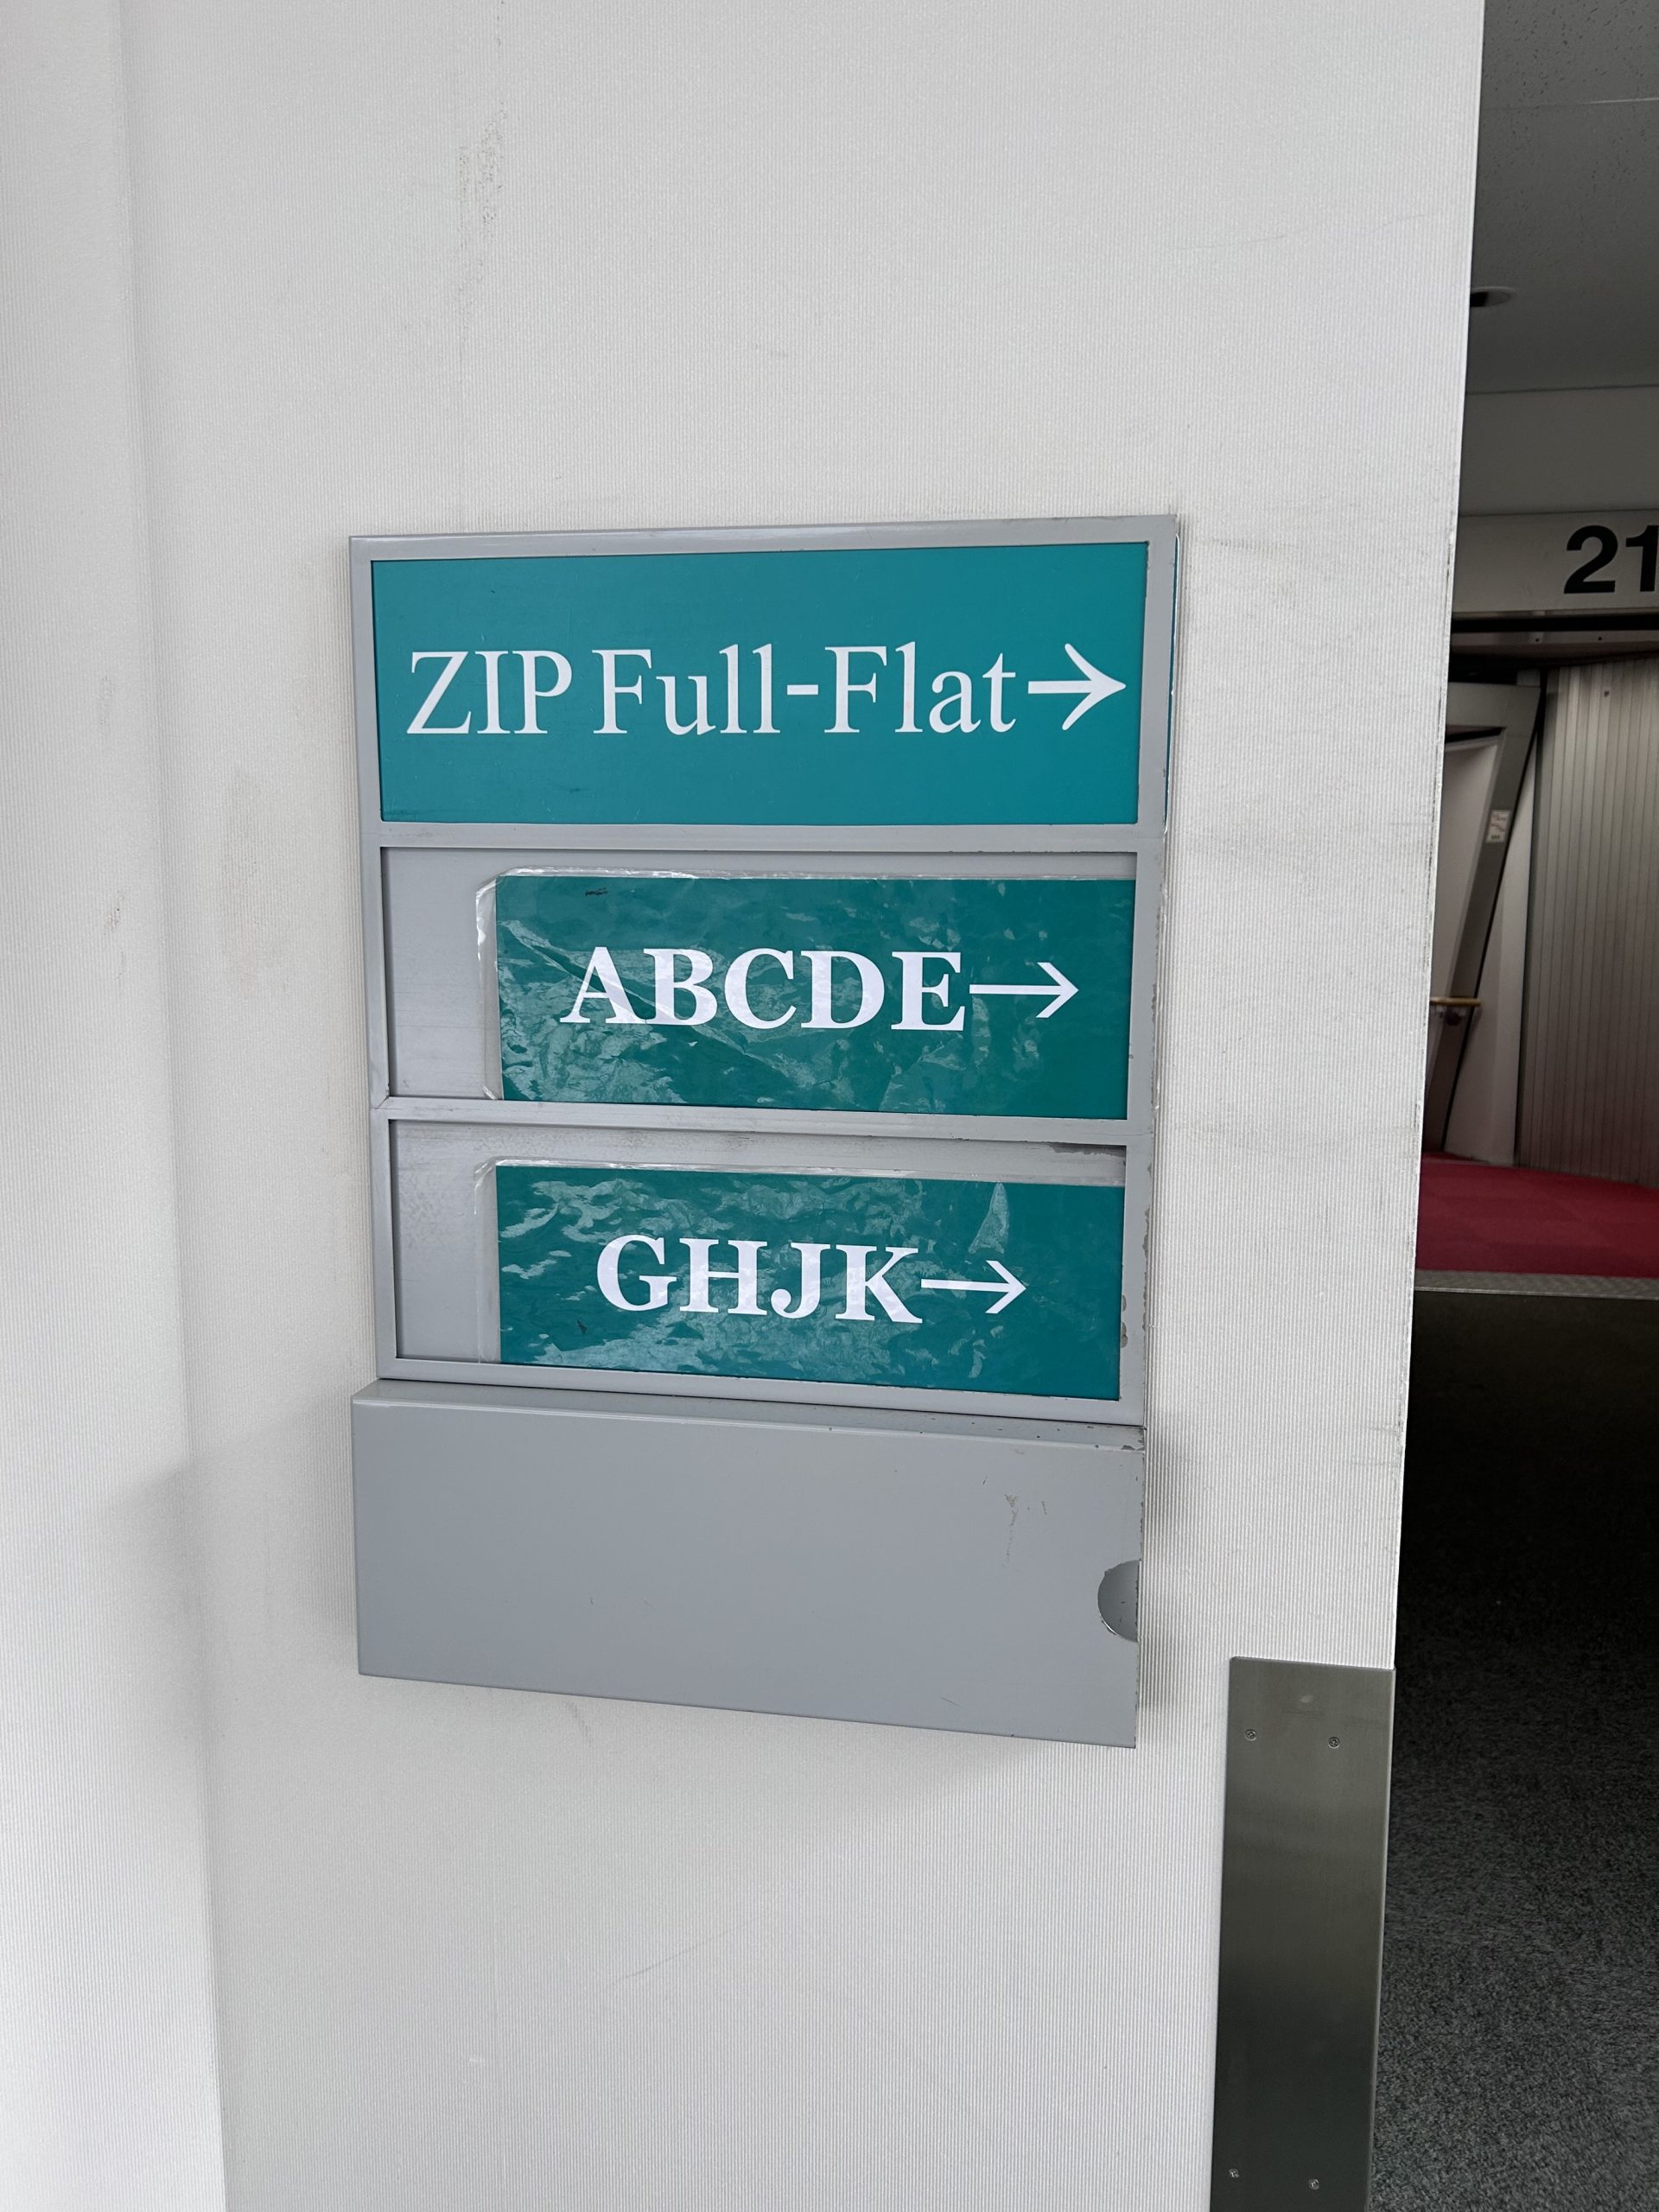 ZIP Full-Flat
My seat was 1A which was the 1st seat on the left side of the front section of the plane.
The seat was tilted at an angle towards the window, facing away from the inner cabin.
Lots of leg room and I could stretch my legs.
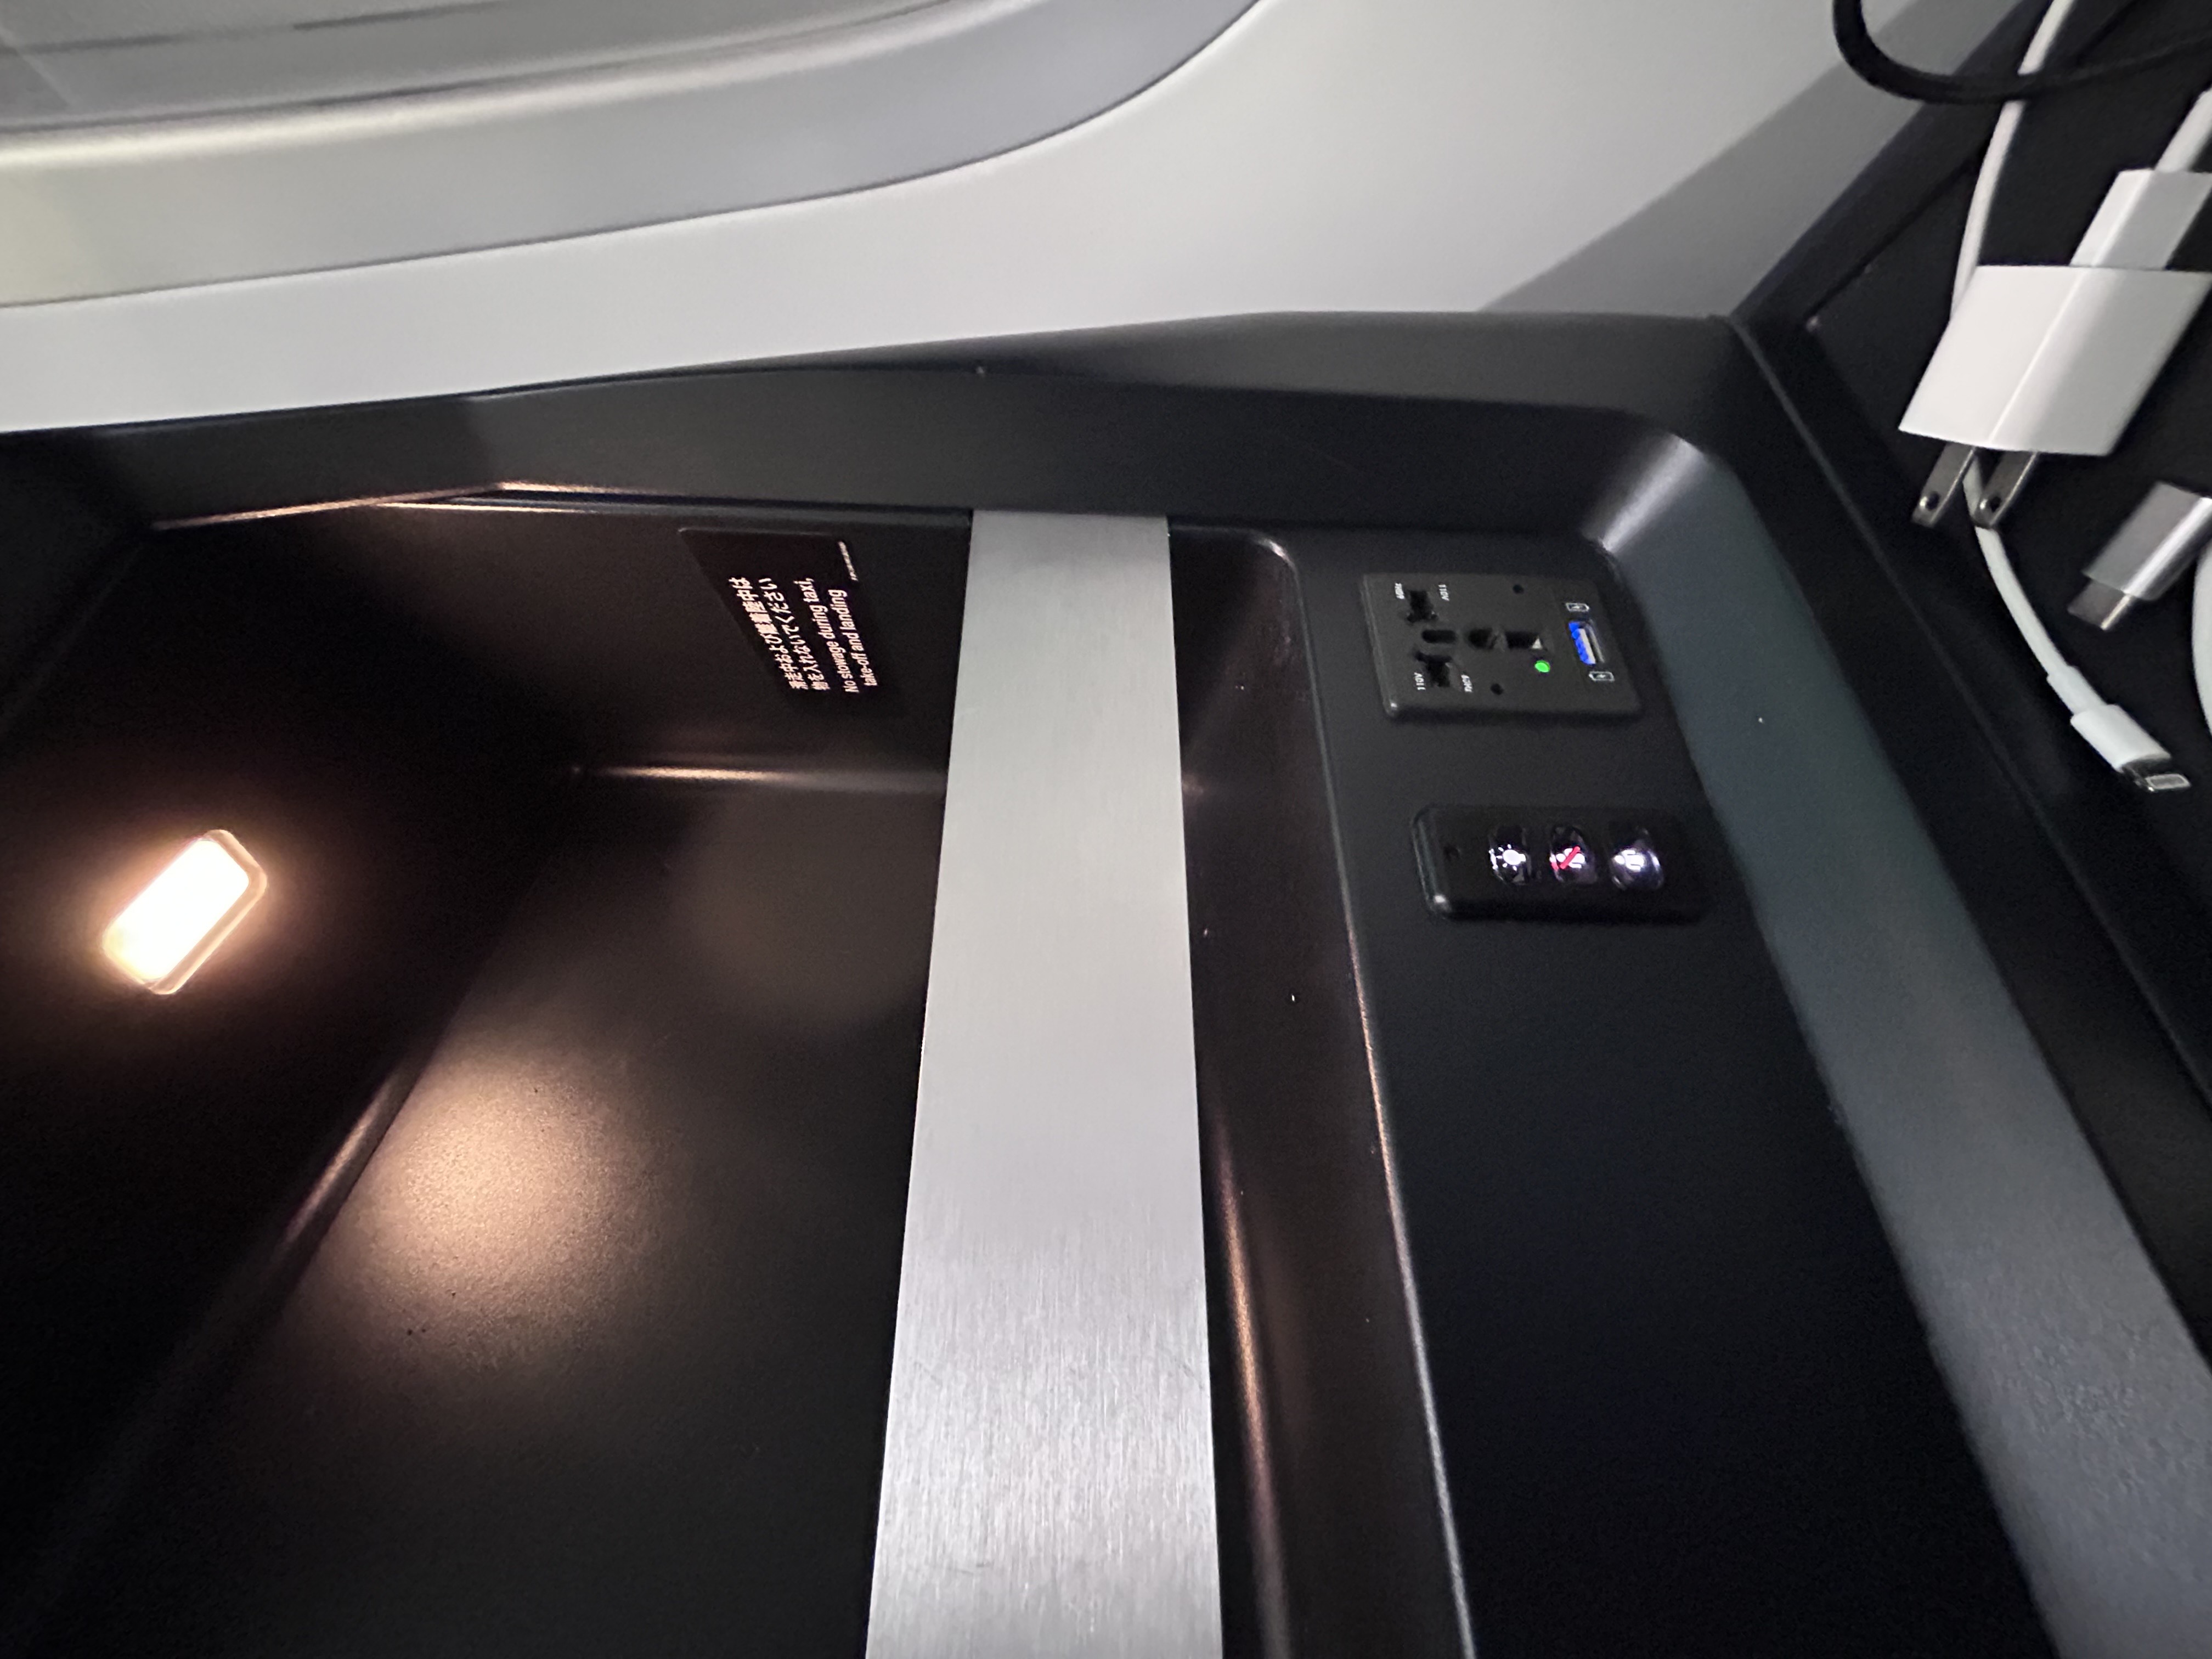
 Plenty of storage bins and space to store my laptop, mobile devices, headphones and other personal items.
There was no TV screen which is a norm on all ZIPAIR planes.
FREE Wi-Fi on the plane and you can access your mobile to watch shows, go on social media, check emails and place order on food & beverages via ZIPAIR app.
 Care Package:
ZIPAIR provided me with a care package.
Let’s unbox and show you what’s included in this care package.
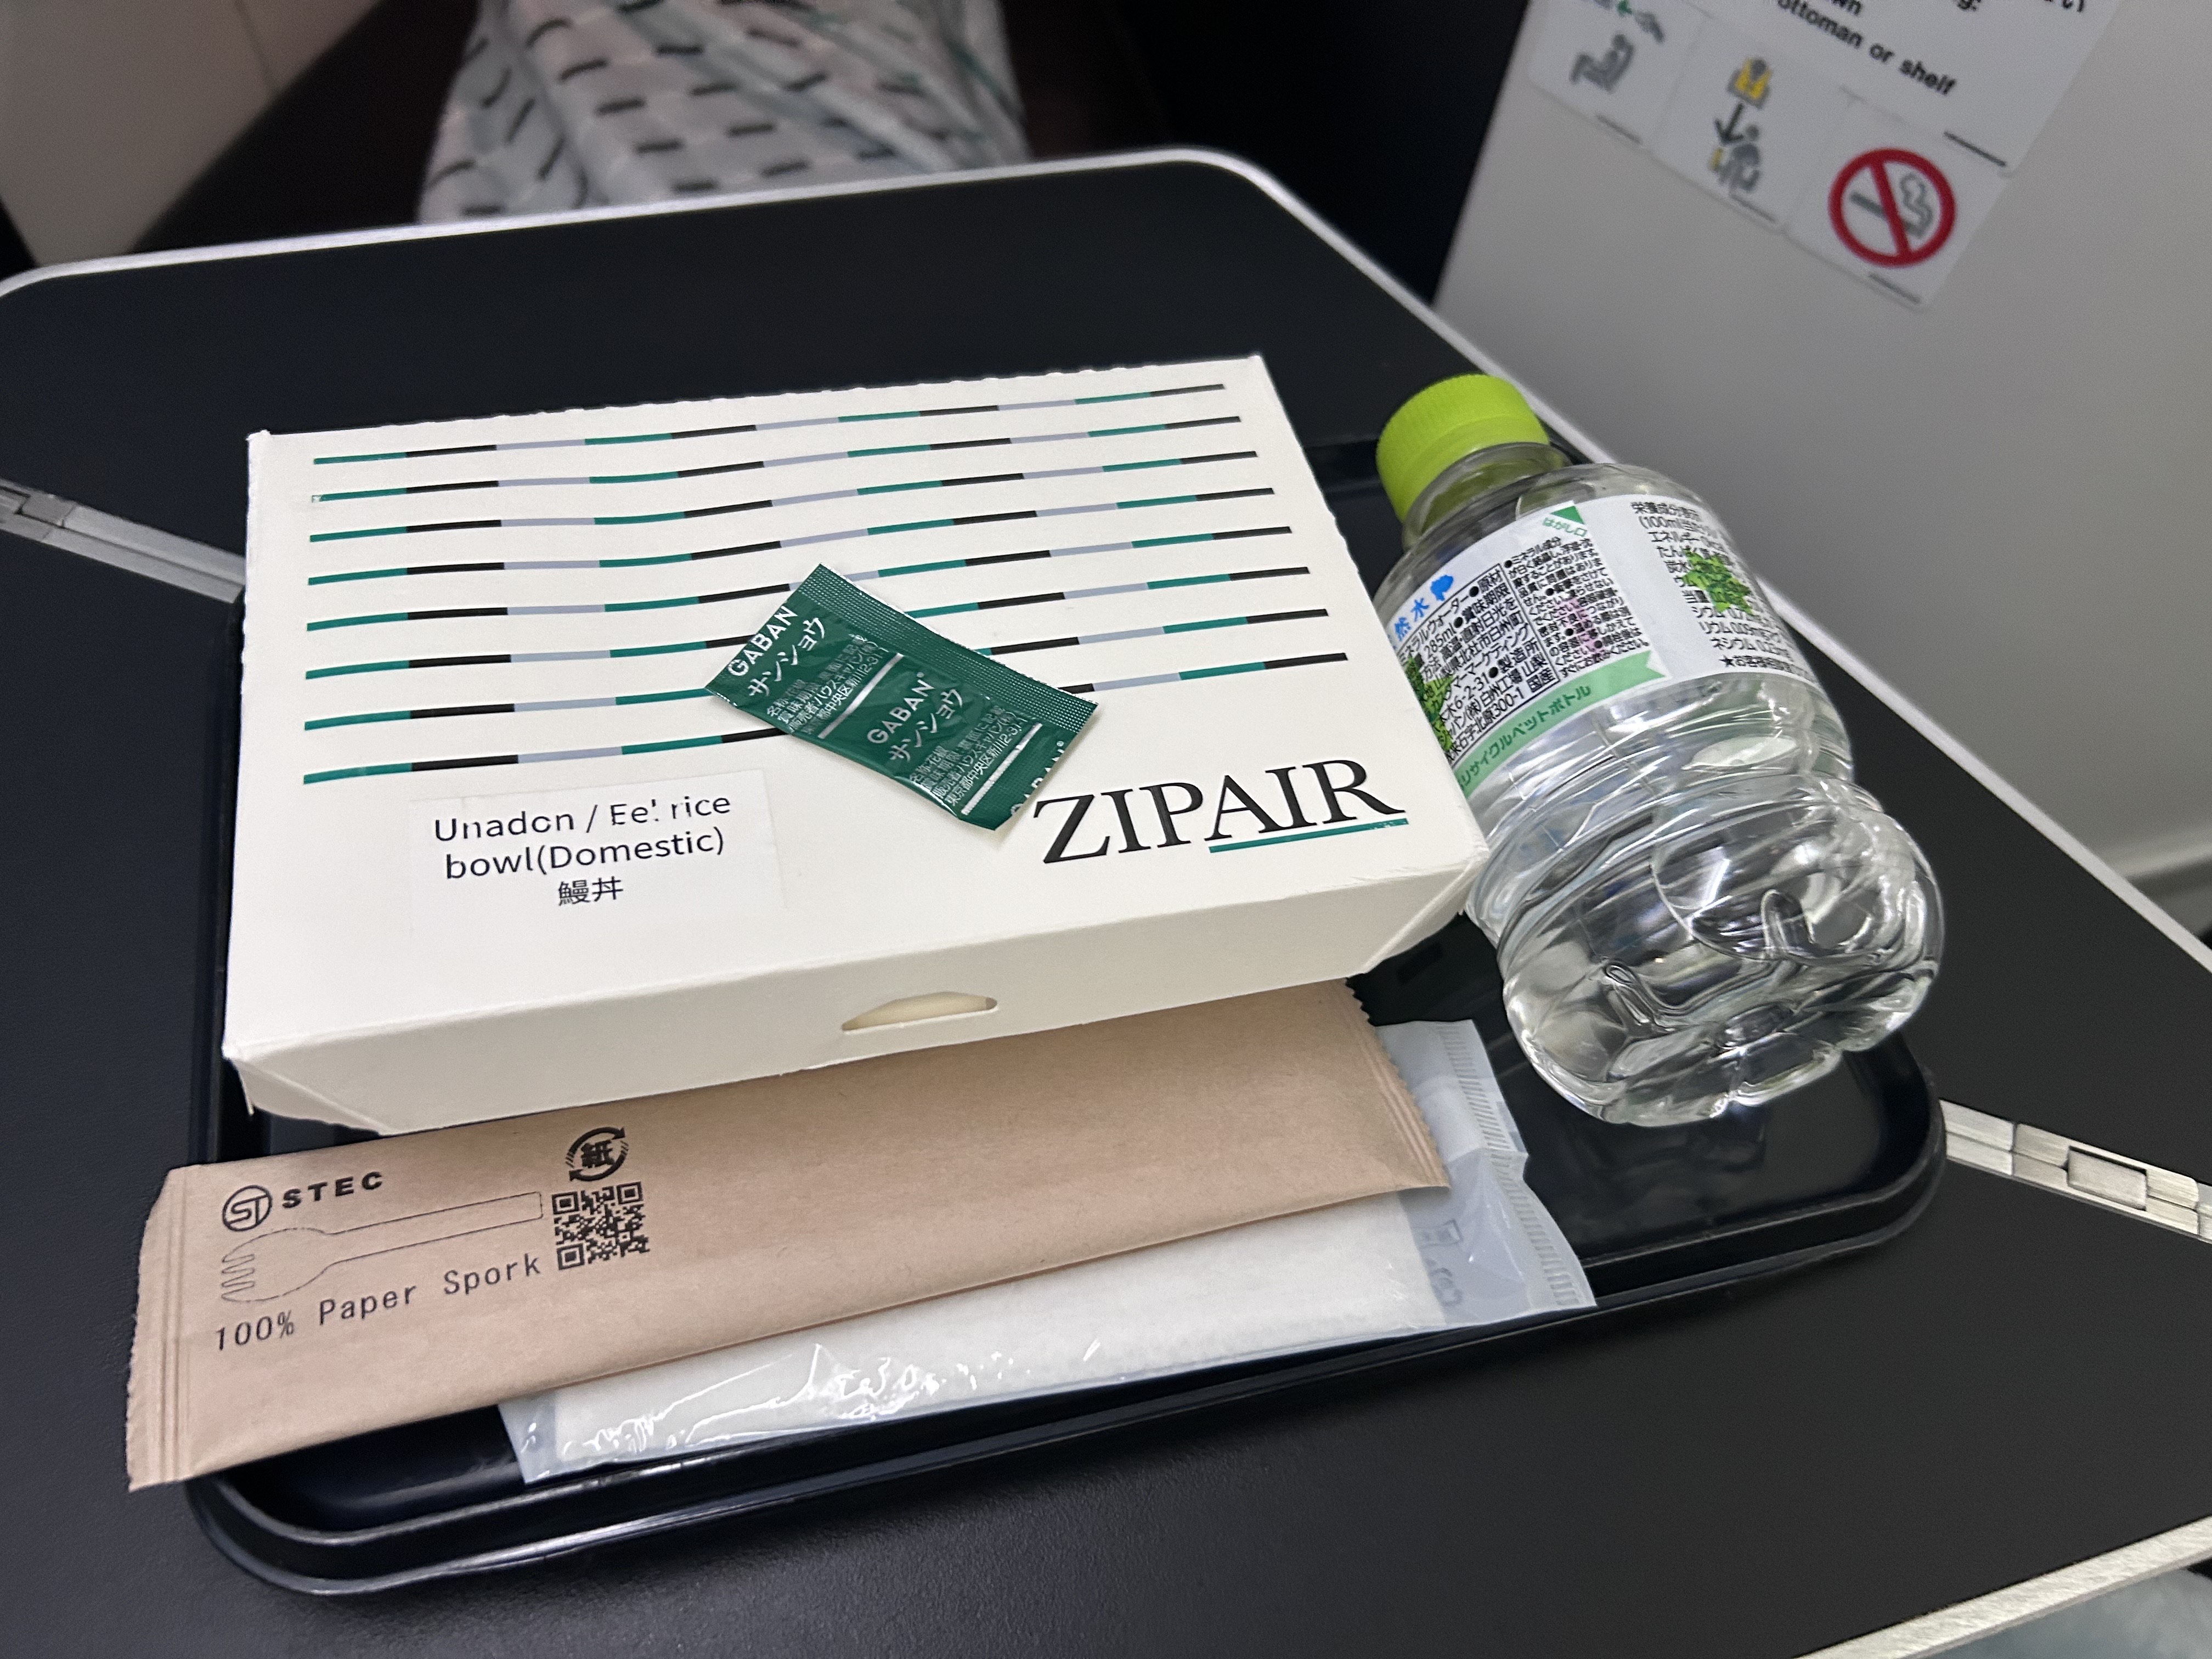
In-Flight Meal:
Prior to my flight, ZIPAIR asked me what meal I would like to indulge on the flight. I chose the Unagi (eel) rice.
 Overall Experience:
The direct flight from Tokyo, Japan to Houston, Texas was about 12.5 hours but I felt very comfy and really enjoyed the ZIP Full-Flat. I got some sleep, it was nice and quiet cabin. It really put in perspective of how much more comfort I received when I can stretch my legs, tilt my seat or move my body a bit within my space. It’s a difference maker of what just a little more space can do when travelling by air.
Depending on the destination you are travelling with ZIPAIR, ZIP Full-Flat usually cost about $1500-$2000 CDN depending on the month of the year, compared to other airlines flight options, ZIP Full-Flat is definitely way cheaper. For example, full flat-bed with Air Canada or West Jet can range upwards of $3000-$4000+ CDN, if it’s Premium Economy (not flat bed but wider space and more leg room), it’s about $2200-$3000+ CDN from the aforementioned airlines.
Basically, for similar pricing, you get a full flat-bed flying with ZIPAIR but you only get Premium Economy with Air Canada or WestJet.
Here is the thing, the ZIP Full-Flat doesn’t offer any complimentary in-flight meal or beverage. It also doesn’t come with a TV screen, but for people like myself who doesn’t really need to watch any movies on the TV screen, the ZIP Full-Flat is sufficient. I just need a seat that can recline, tilt, falls flat so I can sleep and stretch my legs.
If I want to watch any movies, I can use the FREE Wi-Fi via ZIPAIR app to watch shows with my own mobile device or do some social media work. Better yet, I can pay to get food or beverage via the ZIPAIR app. Also, I usually prefer to buy food and drinks at the airport anyways, so it’s not a big deal not having in-flight meal.
Overall, I highly recommend ZIPAIR to anyone who is looking for a simplistic, fair and cheap alternative flight option when travelling from North America to Asia or vice-versa.
ZIPAIR – Tokyo-Narita International Airport (NRT):
Key Details:
Terminal: Terminal 1
Location: North Wing
Floor: 4th Floor
My flight experience travelling from Tokyo, Japan to Houston, Texas was provided by ZIPAIR. However, as always, the opinions expressed in this post is entirely my own.