


 @movernie
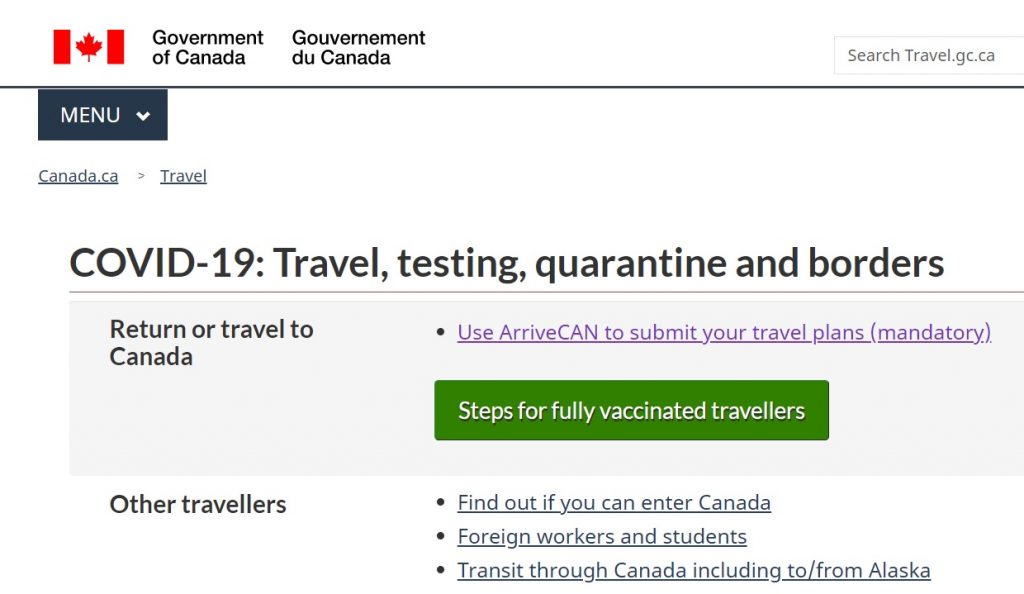
(Photo: Government of Canada website)
Many people are starting to feel comfortable of air travel once again but they are curious to know what documents or requirements are needed to travel to the USA by plane (click here to find out the process).
What if you have already boarded on a plane to visit USA and you are planning to come back to Canada? What are the guidelines or requirements?
What You Need To Know When You Return Back To Canada from USA?
NOTE: The requirements from Canada is different from USA. Currently, you only need an antigen test result to enter USA by plane. If you are returning back to Canada by plane, the Canadian government requires you to have a negative test result with a PCR test. So, make sure to consistently check the requirements by both countries official websites.
1. PCR Test: Research and select a place where they conduct PCR test (Polymerase chain reaction). For Americans, a PCR test is FREE. So, if you have a dual citizenship, make sure to research to see if you can get a free PCR test while you are in the USA. Most labs can provide your test results within 24 to 48 hours. Some of my buddies suggest CVS or Walgreens convenience stores, however, not every one of these locations provide PCR tests, so you have to research to ensure the location you have booked your appointment at CVS or Walgreens do preform PCR tests.
PCR test is quite costly and will be a factor that will deter Canadians from travelling to the USA. Most PCR test ranges from $150 USD to $240 USD. So, you should do some research and check on their Google Reviews to hear from other people which had uses the services at the particular labs and which one is reliable, professionally conducted, approved by CDC and can provide you with your test results within less than 48 hours. Remember, you need a test result within 72 hours before your flight.
As of today (October 1, 2021), these tests are considered acceptable molecular tests:
RT-PCR – reverse transcription real time PCR
Quantitative PCR (qPCR)
Nucleic acid test (NAT) or Nucleic acid amplification test (NAATs)
Reverse transcription loop-mediated isothermal amplification (RT-LAMP)
Isothermal amplification
Droplet digital PCR or digital droplet PCR (ddPCR)
Transcription-mediated amplification (TMA)
RNA (Ribonucleic acid)
Ct (cycle threshold)
CRISPR
Sequencing
Next generational sequencing (NGS) or whole genome sequencing (WGS)
Oxford Nanopore sequencing (LamPORE)
Detection of the N gene
Detection of Orf1a/b
Detection of the S gene
Detection of the E gene
Detection of the RdRp gene
2. Download ArriveCAN App: The Government of Canada requires all passengers (Canadians or Non-Canadians) to download this ArriveCAN app. This app will ask you many questions such as your name, birthdate, if you have any symptoms, etc. They also require you to upload your vaccination passport. They also ask you if your have a negative PCR test before arriving to Canada. However, they don’t require you to upload your negative PCR test. You just need to keep a record of your test result to show to the airline staff upon your arrival at the departing airport.
NOTE: You can consistently fill in the INFO to the ArriveCAN app, the app will store your INFO. There are questions that you can only fulfill within 72 hours before your flight. You can’t fill some of the fields if you are more than 72 hours from your flight.
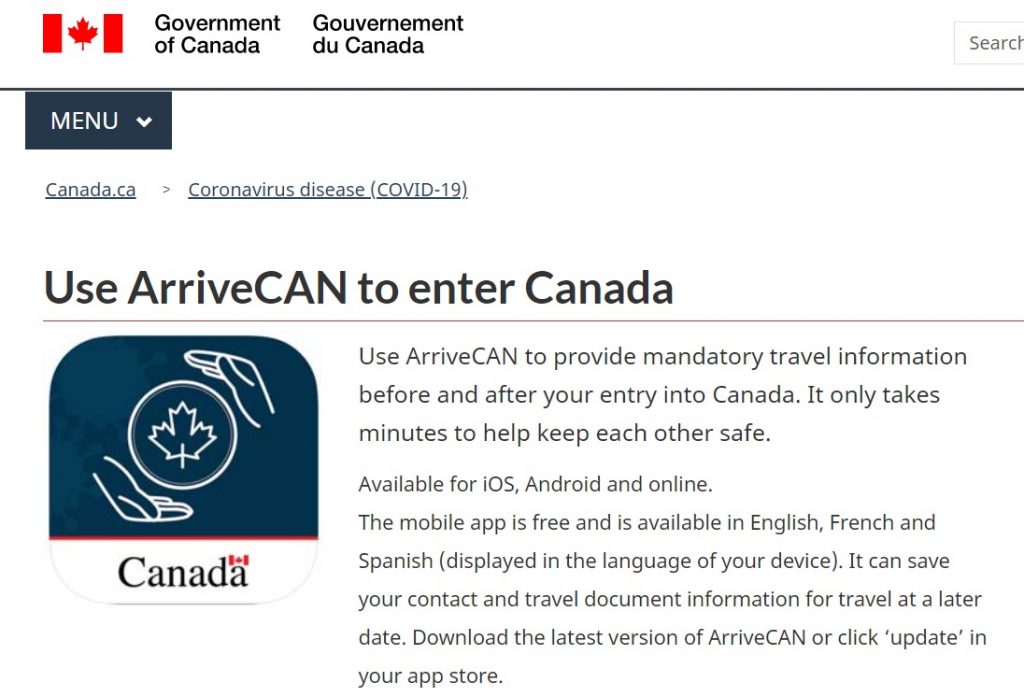
(Photo: www.Canada.ca)
In Summary: This is what you need at the airport for your flight back to Canada
1. A flight ticket
2. Check-in within 24 hours of your flight (I suggest you check-in online via smartphone or laptop)
3. A digital boarding pass
4. Bring your negative PCR test result (either digital or hardcopy)
5. Download ArriveCAN App. Fill in the INFO and get a receipt code (this is the code the border officer will ask you to show them as well as the airline staff requests to see it, the receipt will only be generated when you have completed filling all the INFO and documents this ArriveCAN app needs and after your submission for their staff to verify and confirmed your INFO are accurate and approved.
6. When you are at the airport, you will ask to lineup to talk to the airline staff, make sure you have everything that you need to show the staff (be prepared and ready) and give yourself plenty of time to lineup to see the airline staff.
7. Ask the airline staff to provide you with a hardcopy boarding pass when you see them at the counter at the airport, as it’s easier to carry around. More importantly, they usually provide a checkmark with their initial on the hardcopy of the boarding pass indicating that they have completed checking your documents and you have a negative test result and ok to fly on the plane
MoVernie TIP: I suggest you to give yourself more time at the airport to wait in line to see the airline staff. You may have no luggage to check-in and you may already have an electronic boarding pass. However, the airline still requires you to lineup to show the staff your negative test results. There could be a long lineup as everyone needs to show the airline staff their negative tests and other documents. Sometimes, they are slow coz the passengers may have lost their wifi connections at the counter to show the documents or have to scroll their email inbox to find the INFO. It could be hectic. So, you rather give yourself more time just for the peace of mind.
This publication is a general summary of the law. It does not replace legal advice tailored to your specific circumstances.


